🏫 How to Trade on HashgreenSwap
Exchanging on HashgreenSwap is straightforward and intuitive. This article serves as a comprehensive guide to help you navigate the various features of HashgreenSwap and make your trading as seamless as possible.
Setting up HashgreenSwap
Before you start trading in HashgreenSwap, please make sure you have created a wallet on the Chia blockchain, had some XCH or CATs in your wallet, and successfully connected your wallet to HashgreenSwap. If you don't know how to do so, or don't know which wallets HashgreenSwap currently supports, you can check it here.
Learn HashgreenSwap Features and Start Trading
Once you are all set and ready to get started, feel free to click the links below that guide you through how to engage in various trading features on HashgreenSwap!
- 💱 Swap: Exchange between two tokens on the Chia Blockchain.
- 🏊♂️ Add Liquidity: Stake at most two tokens of equal value into the liquidity pool to earn rewards.
- ⚡ Zap: Add unequal funds to the liquidity pool.
- 🔓 Remove Liquidity: Withdraw your share from the liquidity pool and receive rewards.
Swap
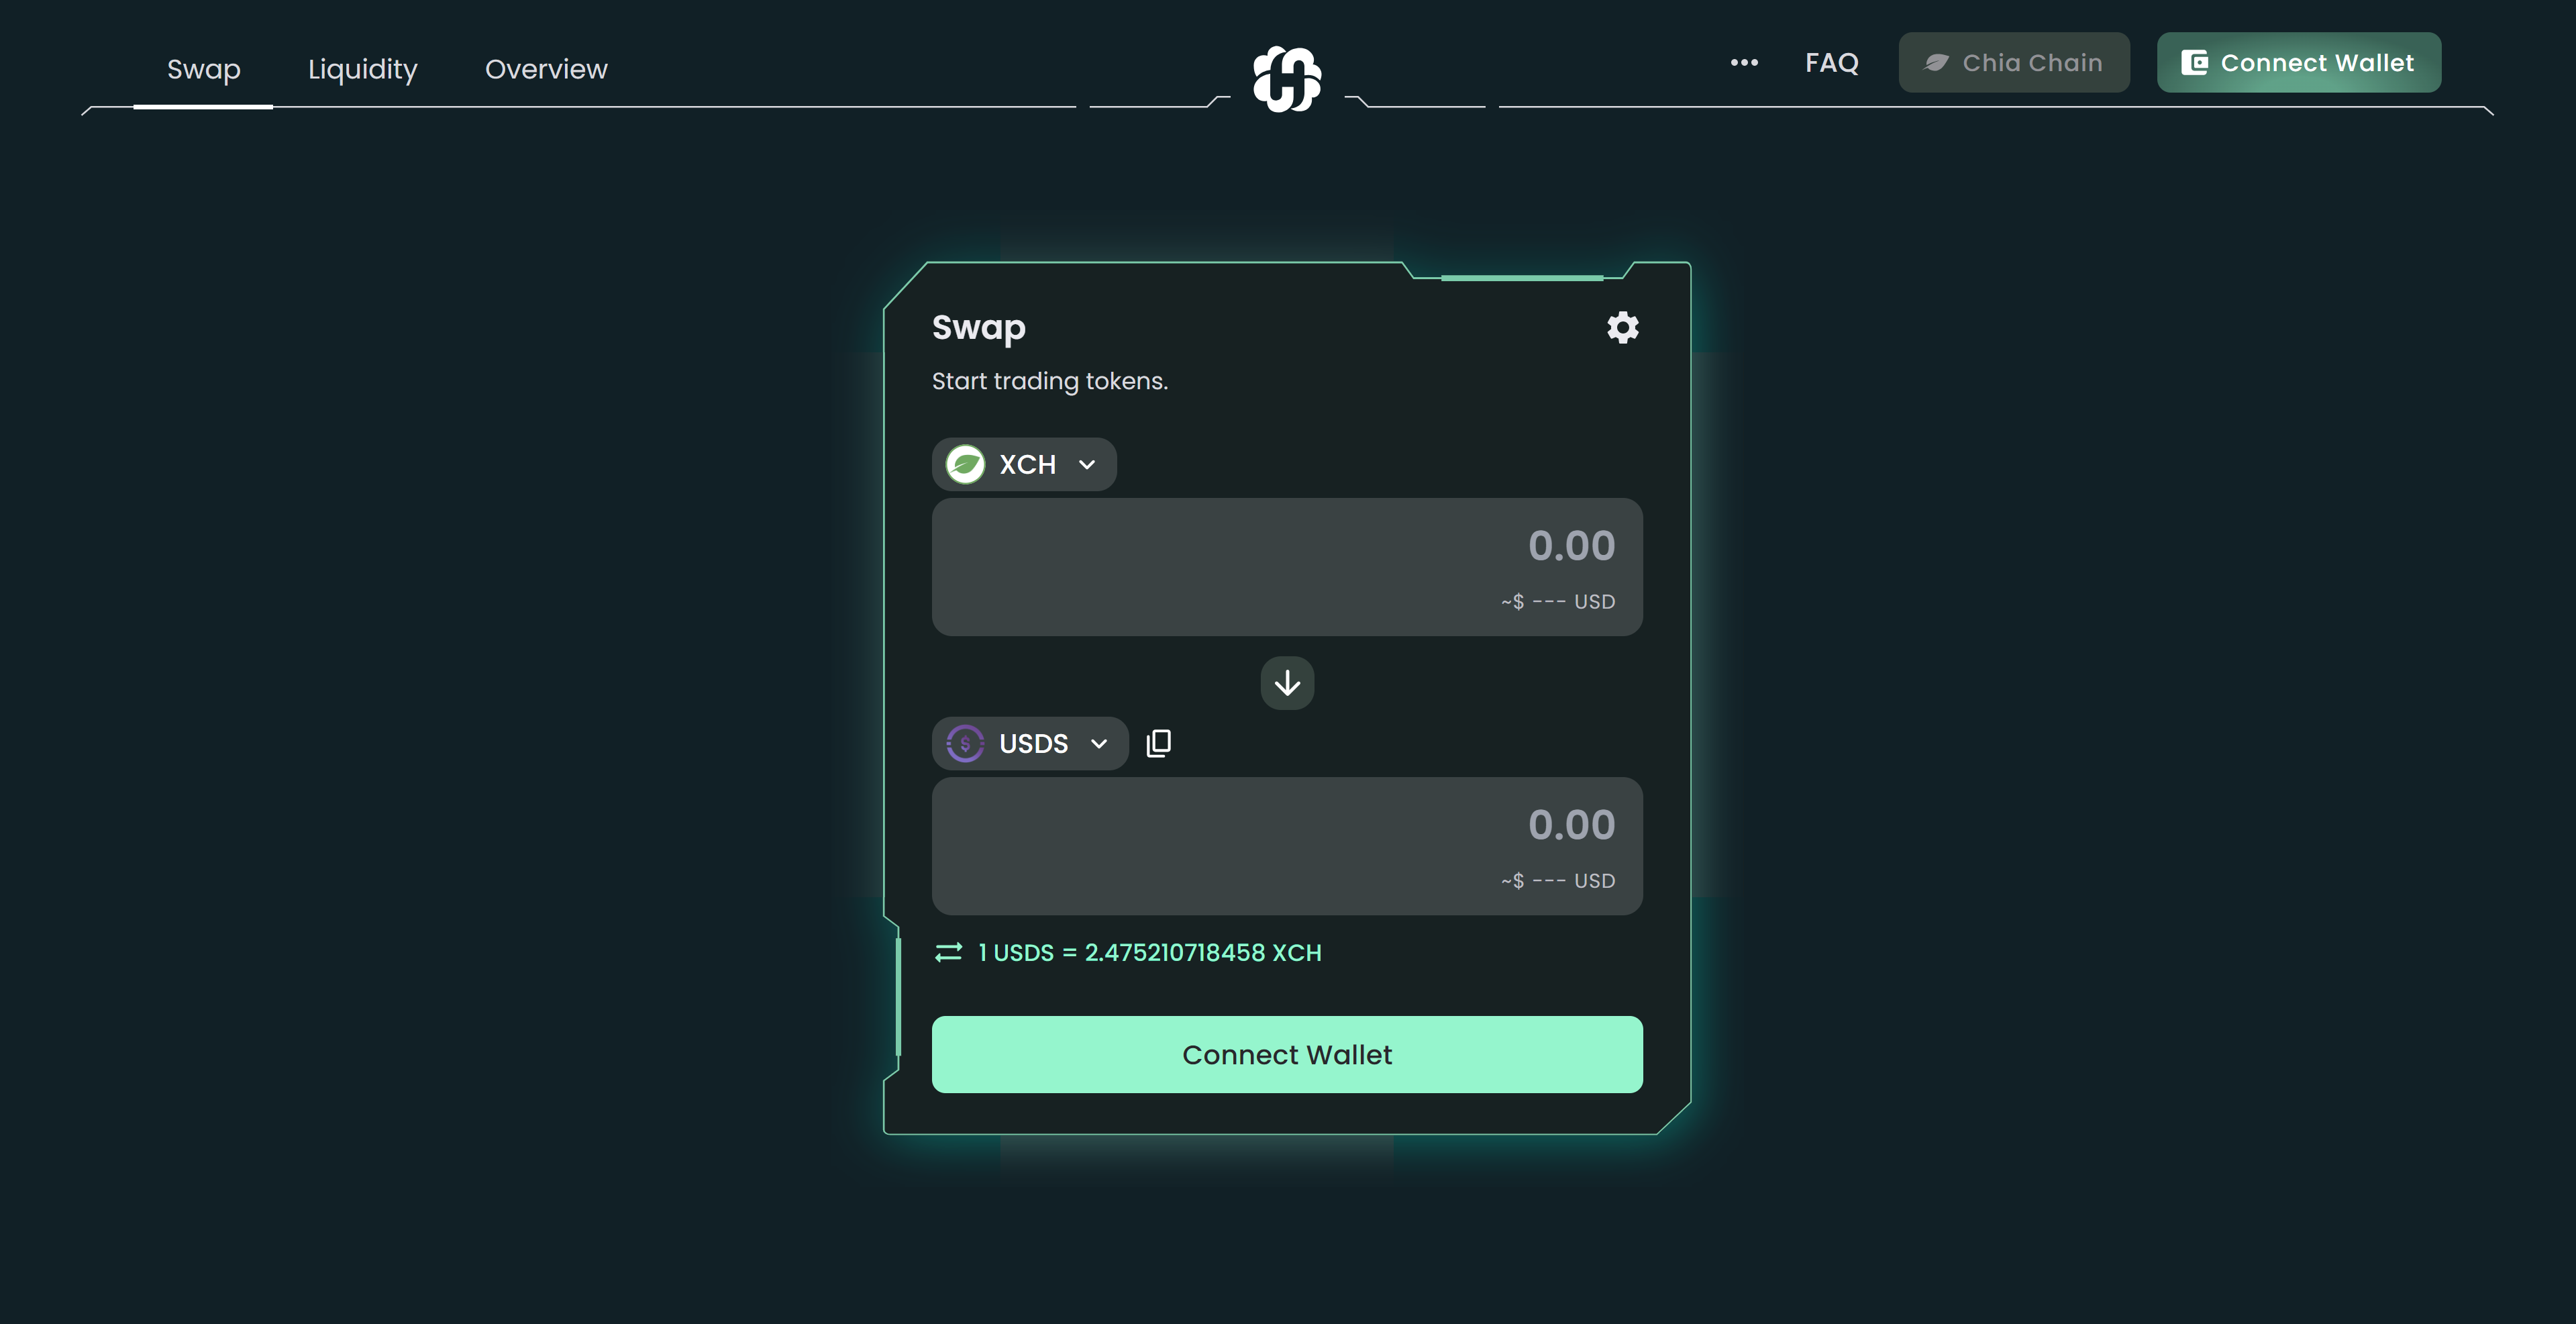
1- Visit the Swap page.
2- Make sure you have connected your wallet. If not, you can always click Connect Wallet button at the top-right corner or at the bottom of the screen. If you don't know how to connect your wallet, you can check it here.
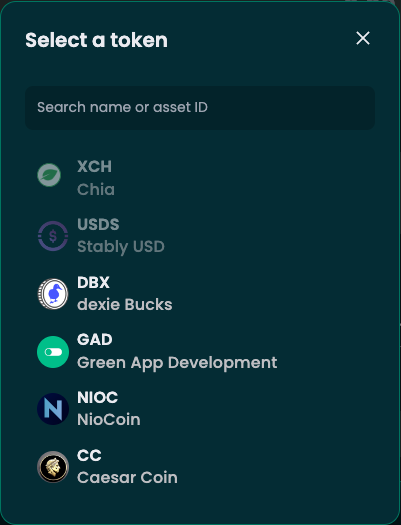
3- Select the token you want to swap from the pop-up token menu. Always make sure you have a sufficient amount of token to trade.
4- Enter the amount you would like to spend to swap at the upper section and the amount of the receiving token will be calculated and shown at the bottom section based on the current pool ratio. Or you can enter the amount you would like to receive at the bottom section. You can further customize the slippage tolerance and network fee according to your preferences.
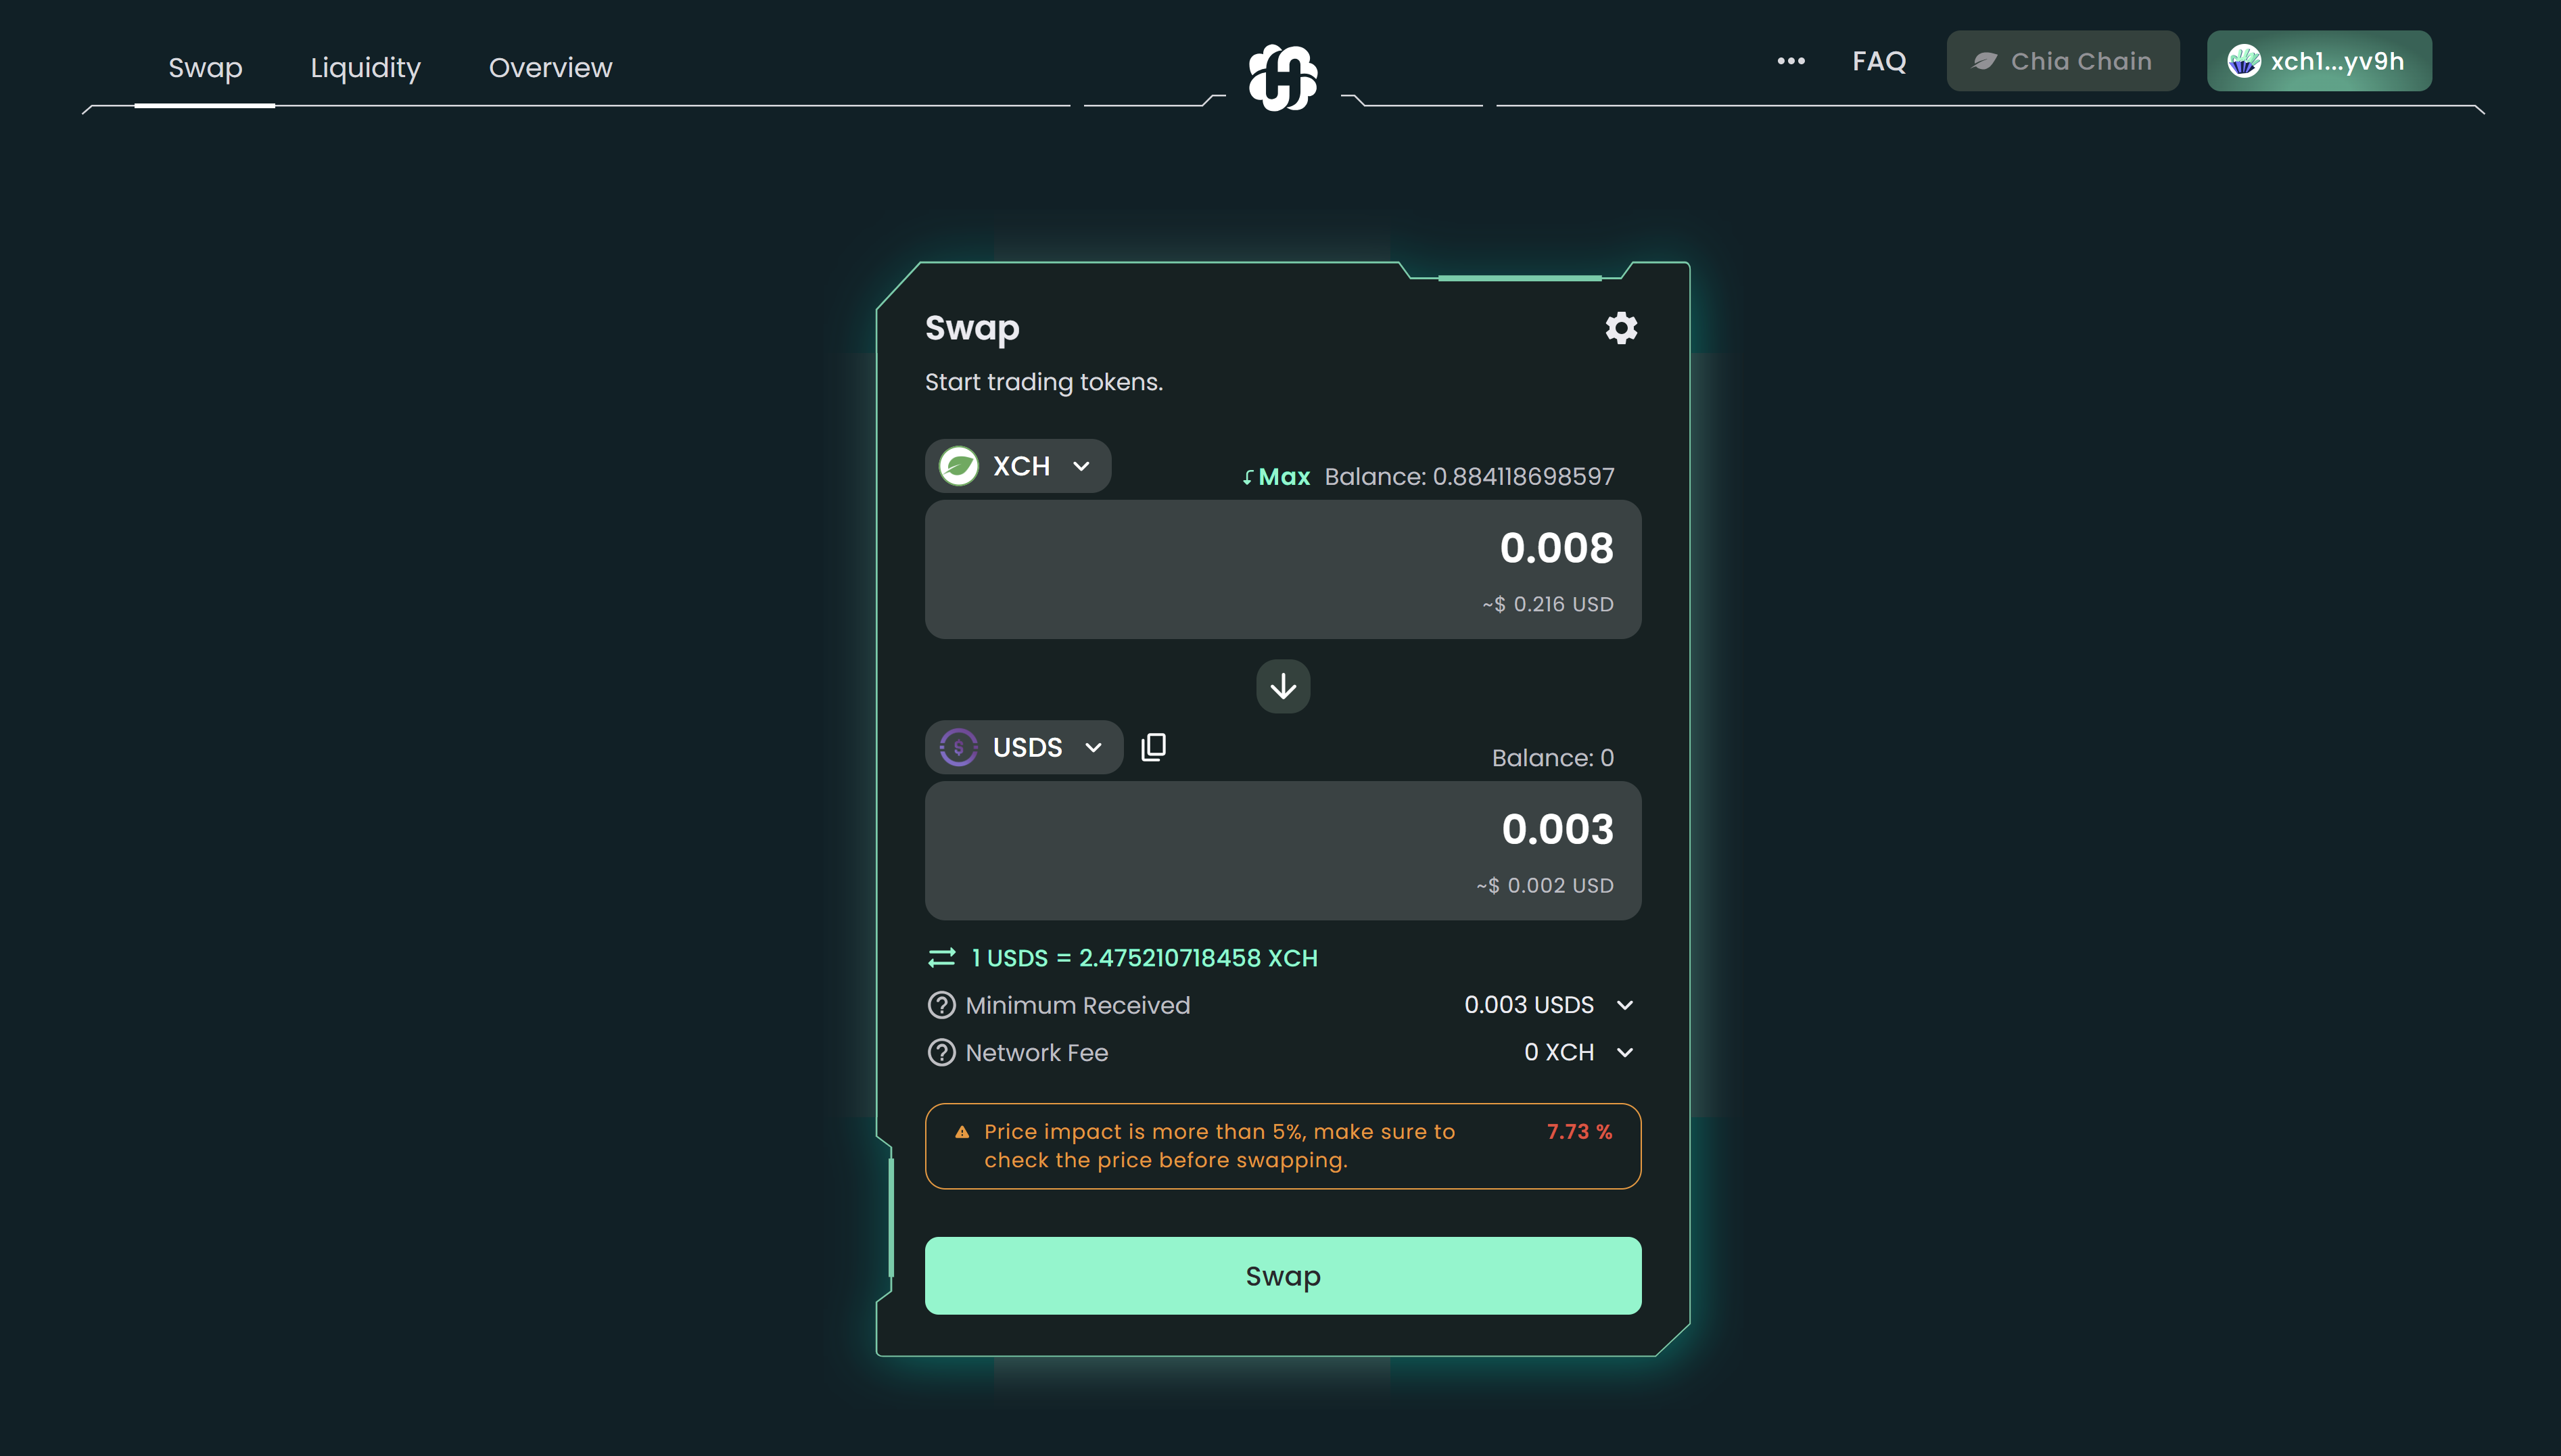
5- Make sure to check all the information and click Swap to proceed.
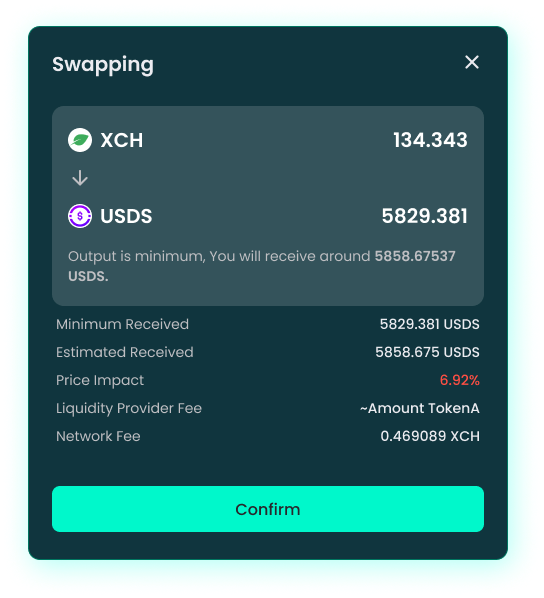
6- A window will pop up and show you once again the details. Hit the Confirm button to confirm swap. Your wallet will then show up and request you to sign the transaction.
7- Done! You can check the transaction information in HashgreenSwap Overview or view it in your wallet.

Add Liquidity
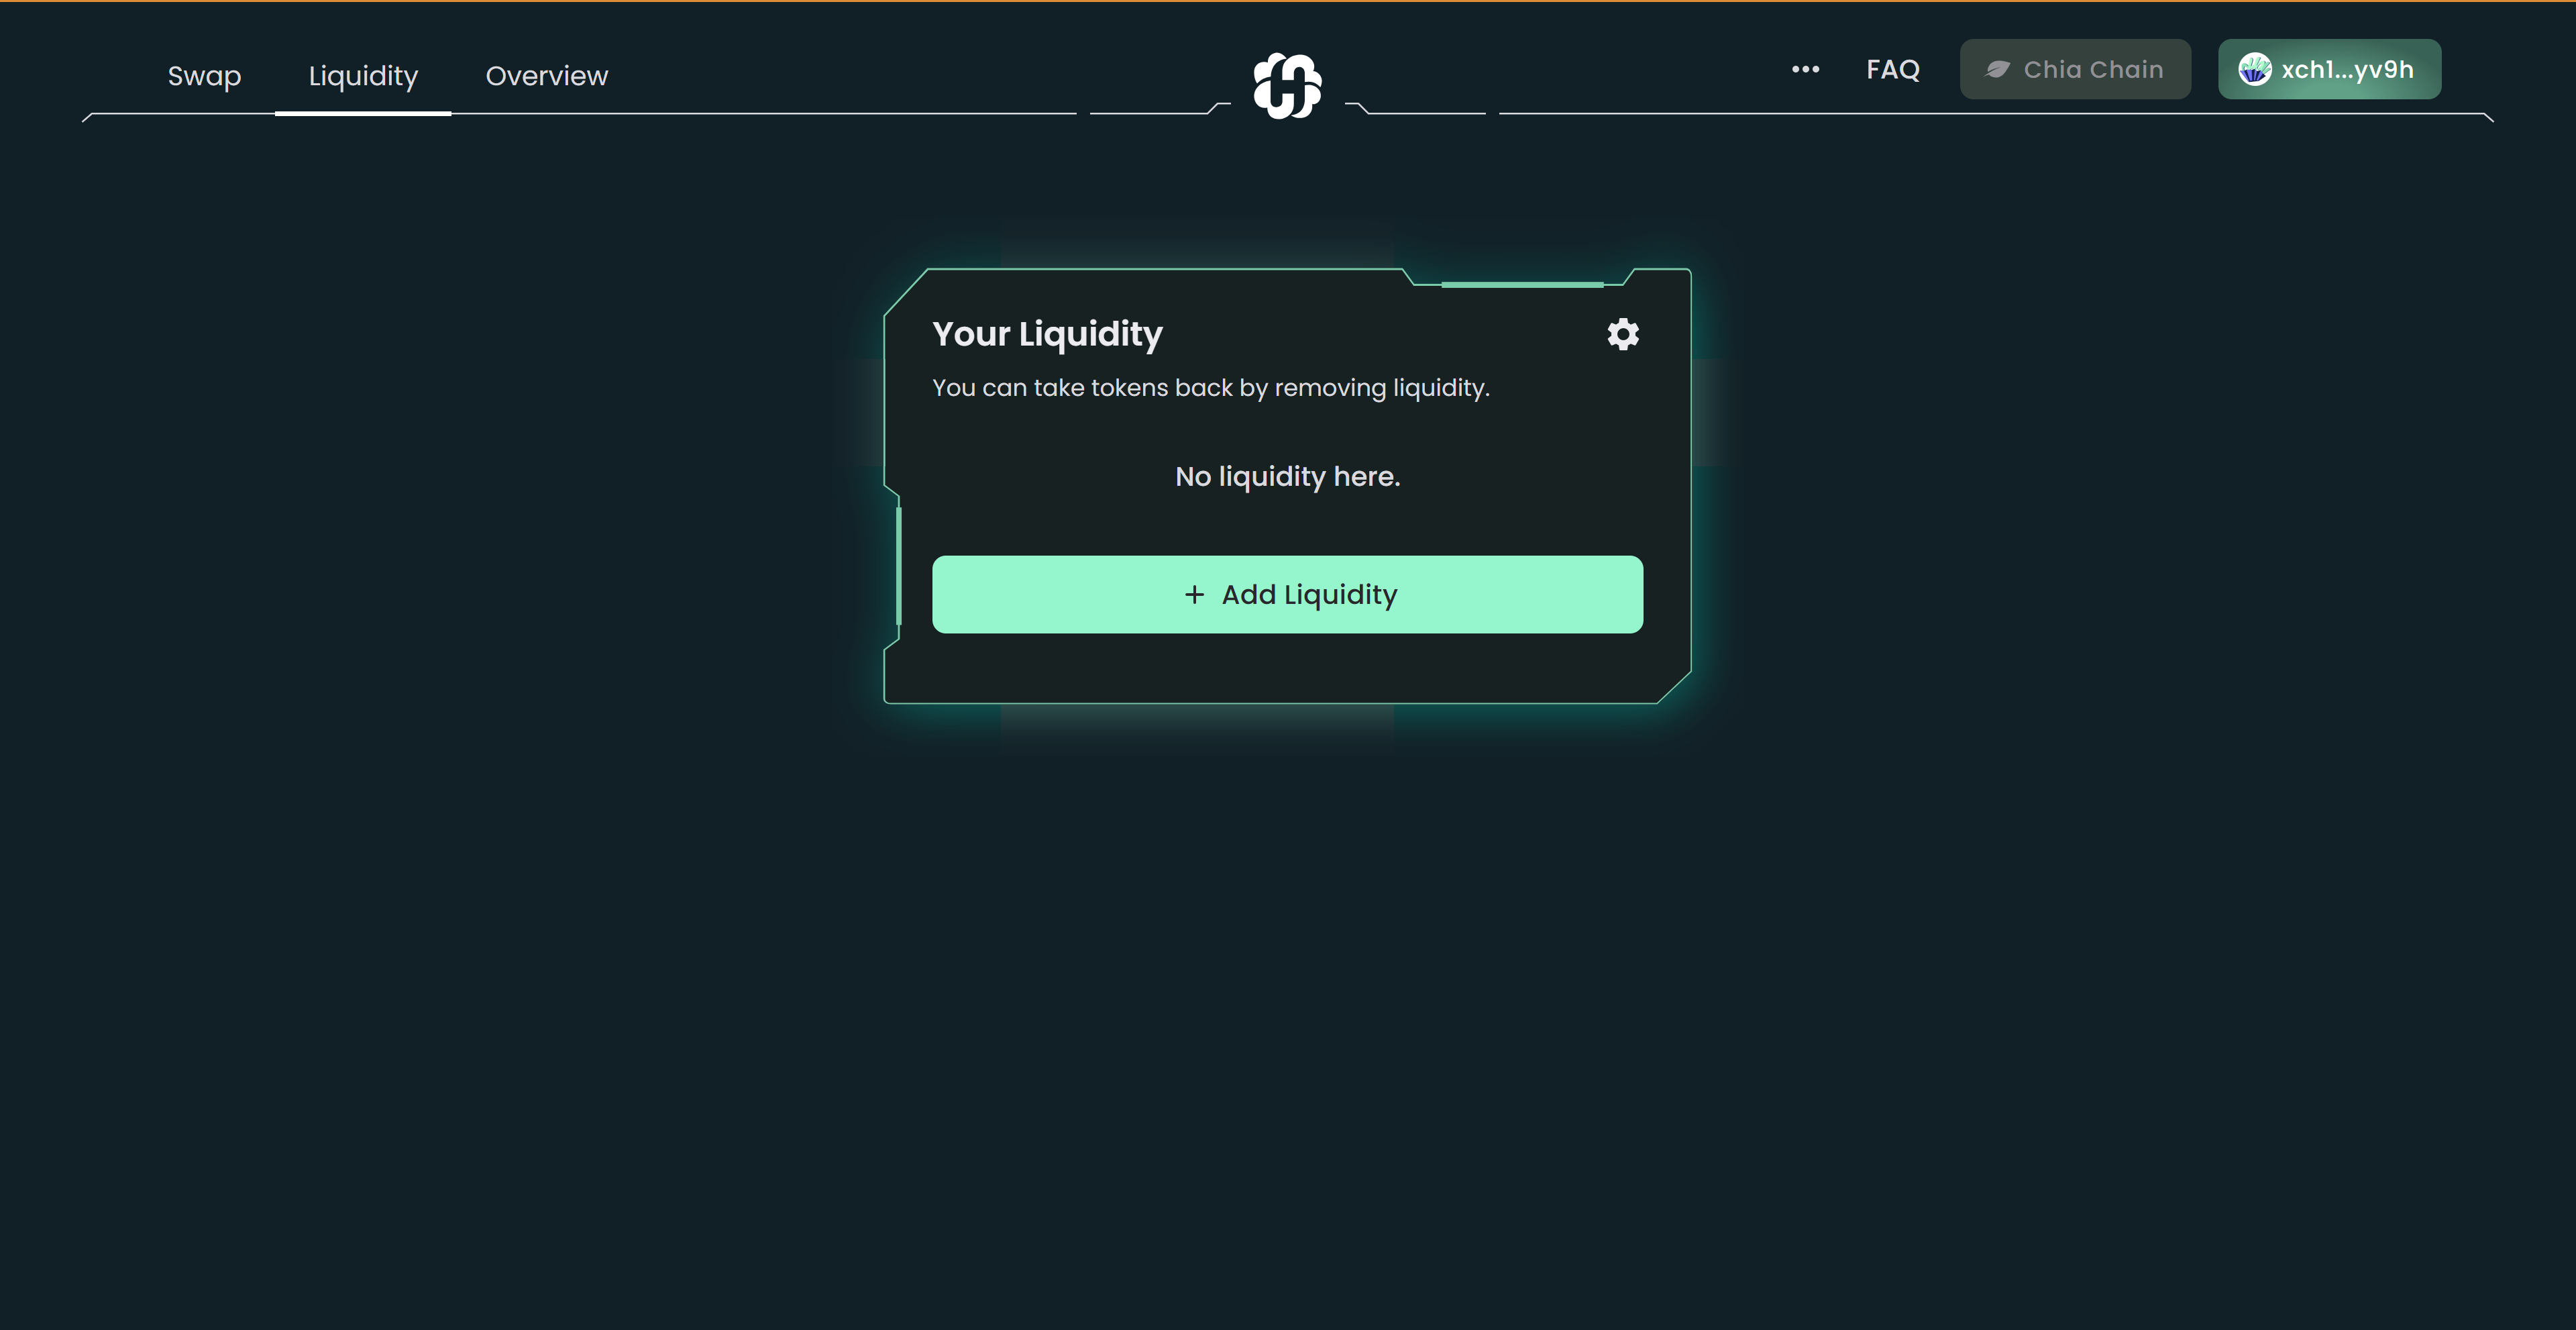
1- Go to the Liquidity page.
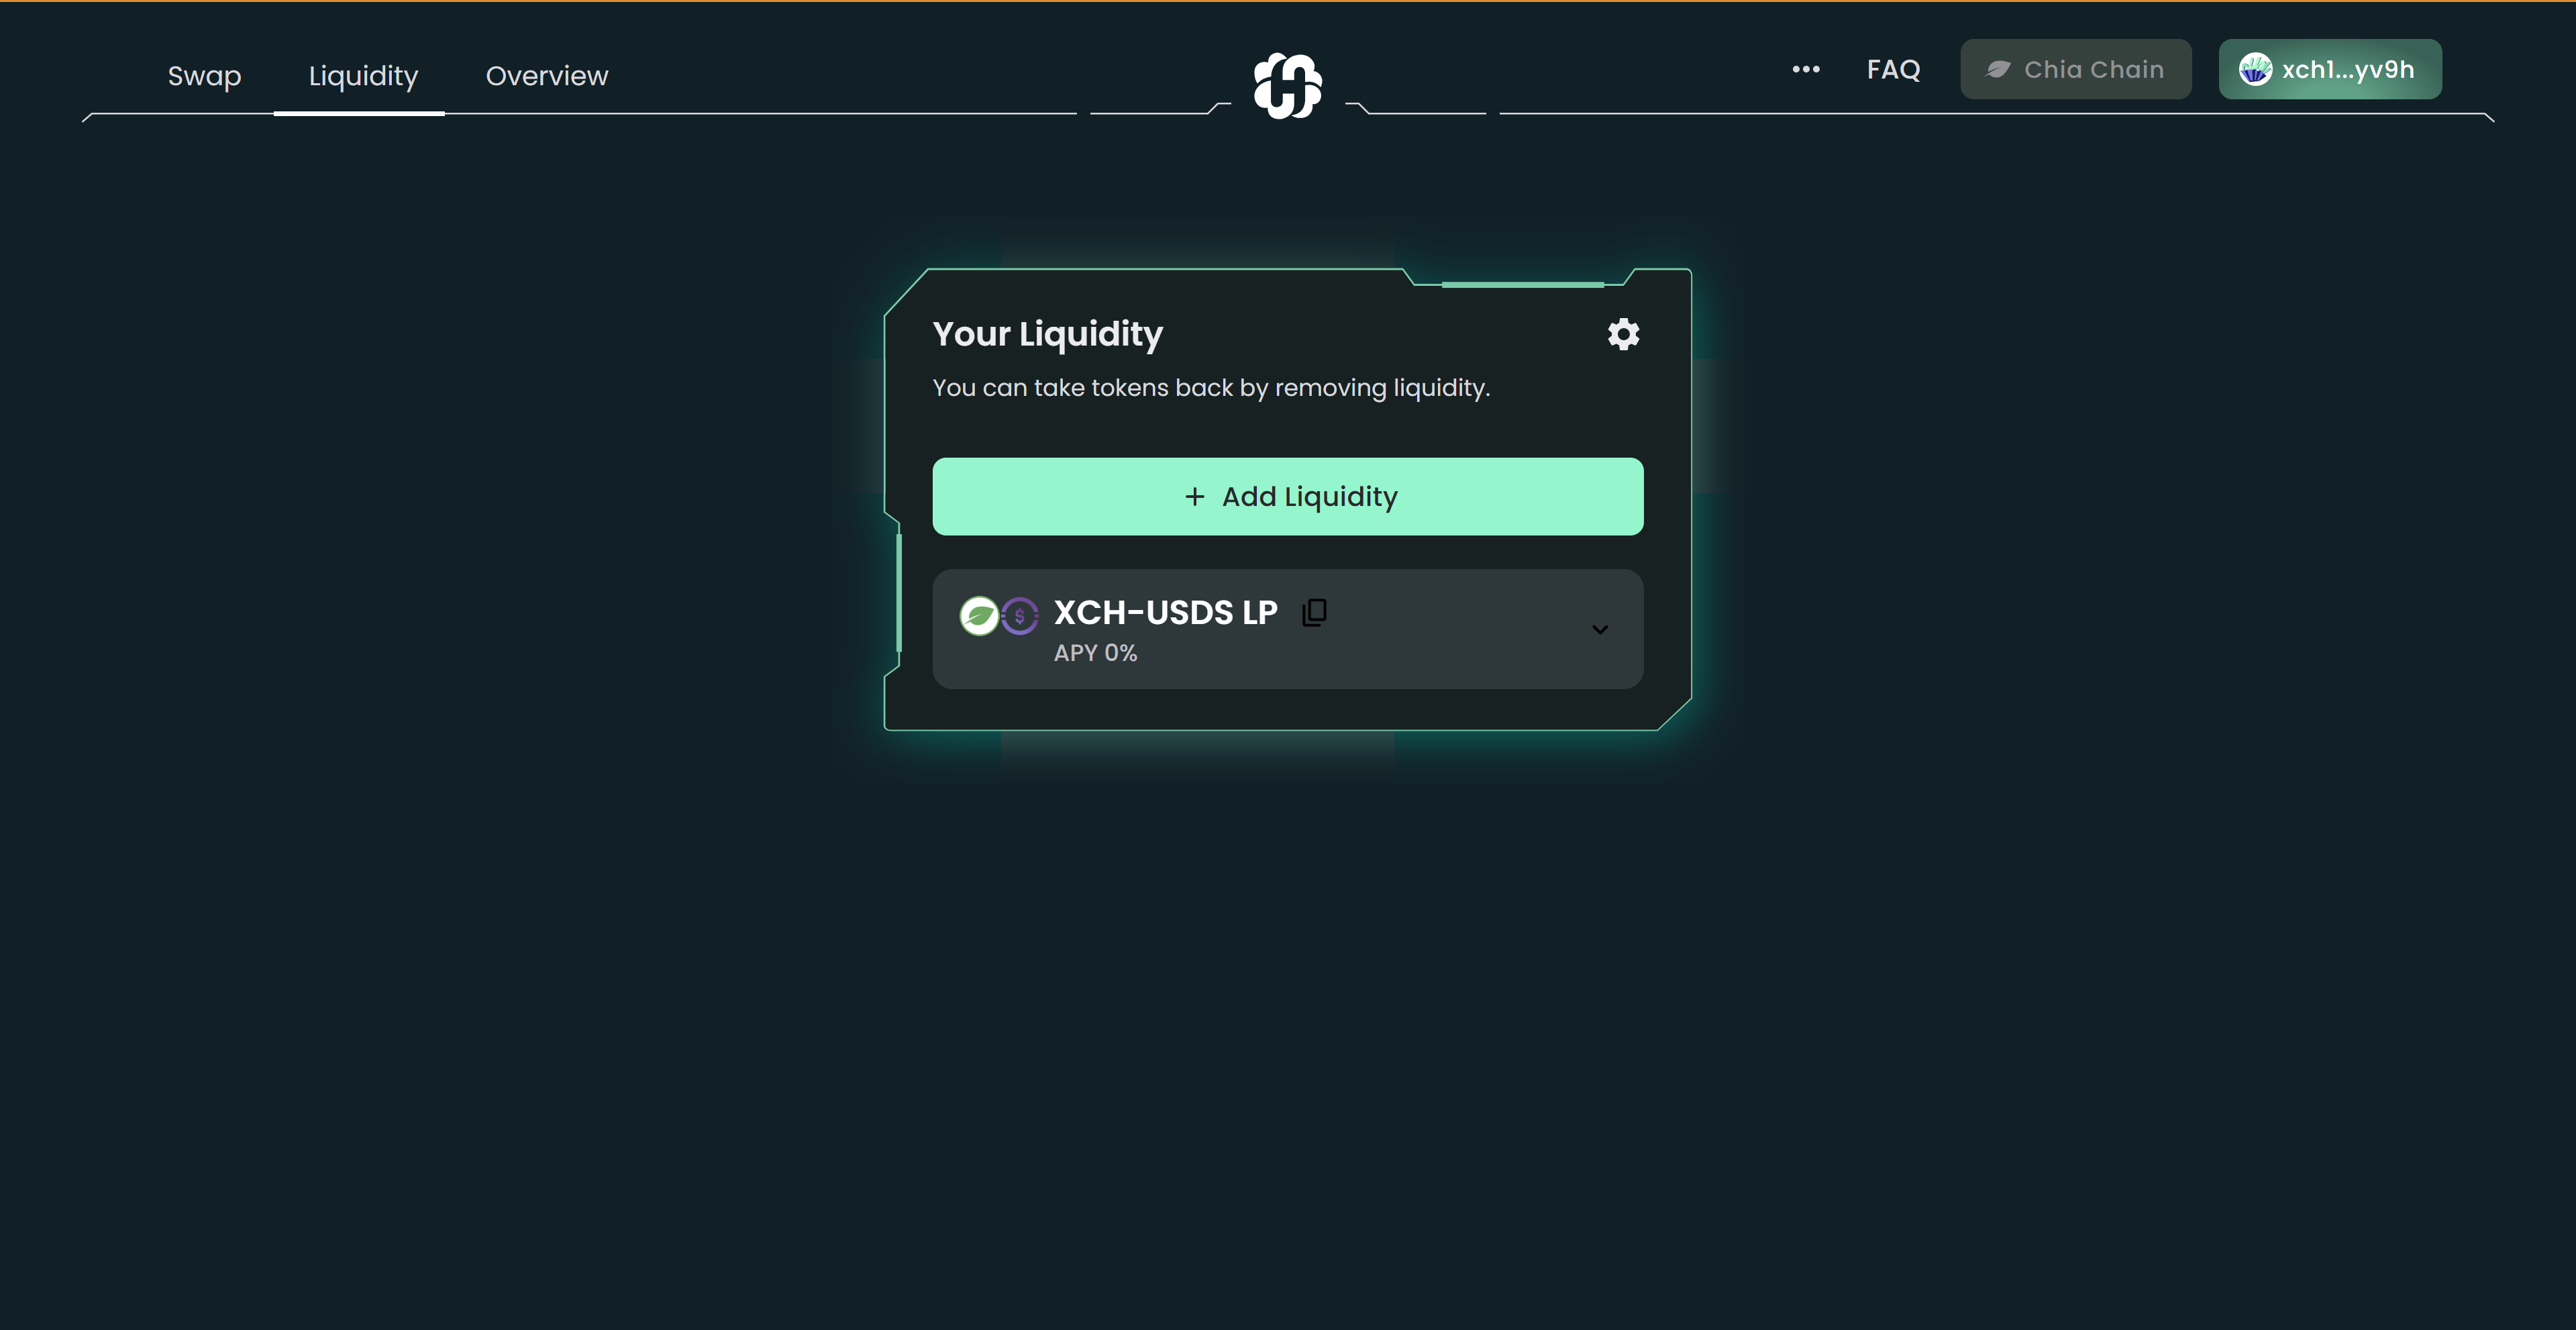
2- Click Add Liquidity to proceed or click the existing pool if you have previously provided liquidity to HashgreenSwap.
3- If you haven't connected your wallet, make sure to do so by clicking the Connect Wallet button at the top-right corner or at the bottom of the section. If you don't know how to connect your wallet, you can check the guide here.
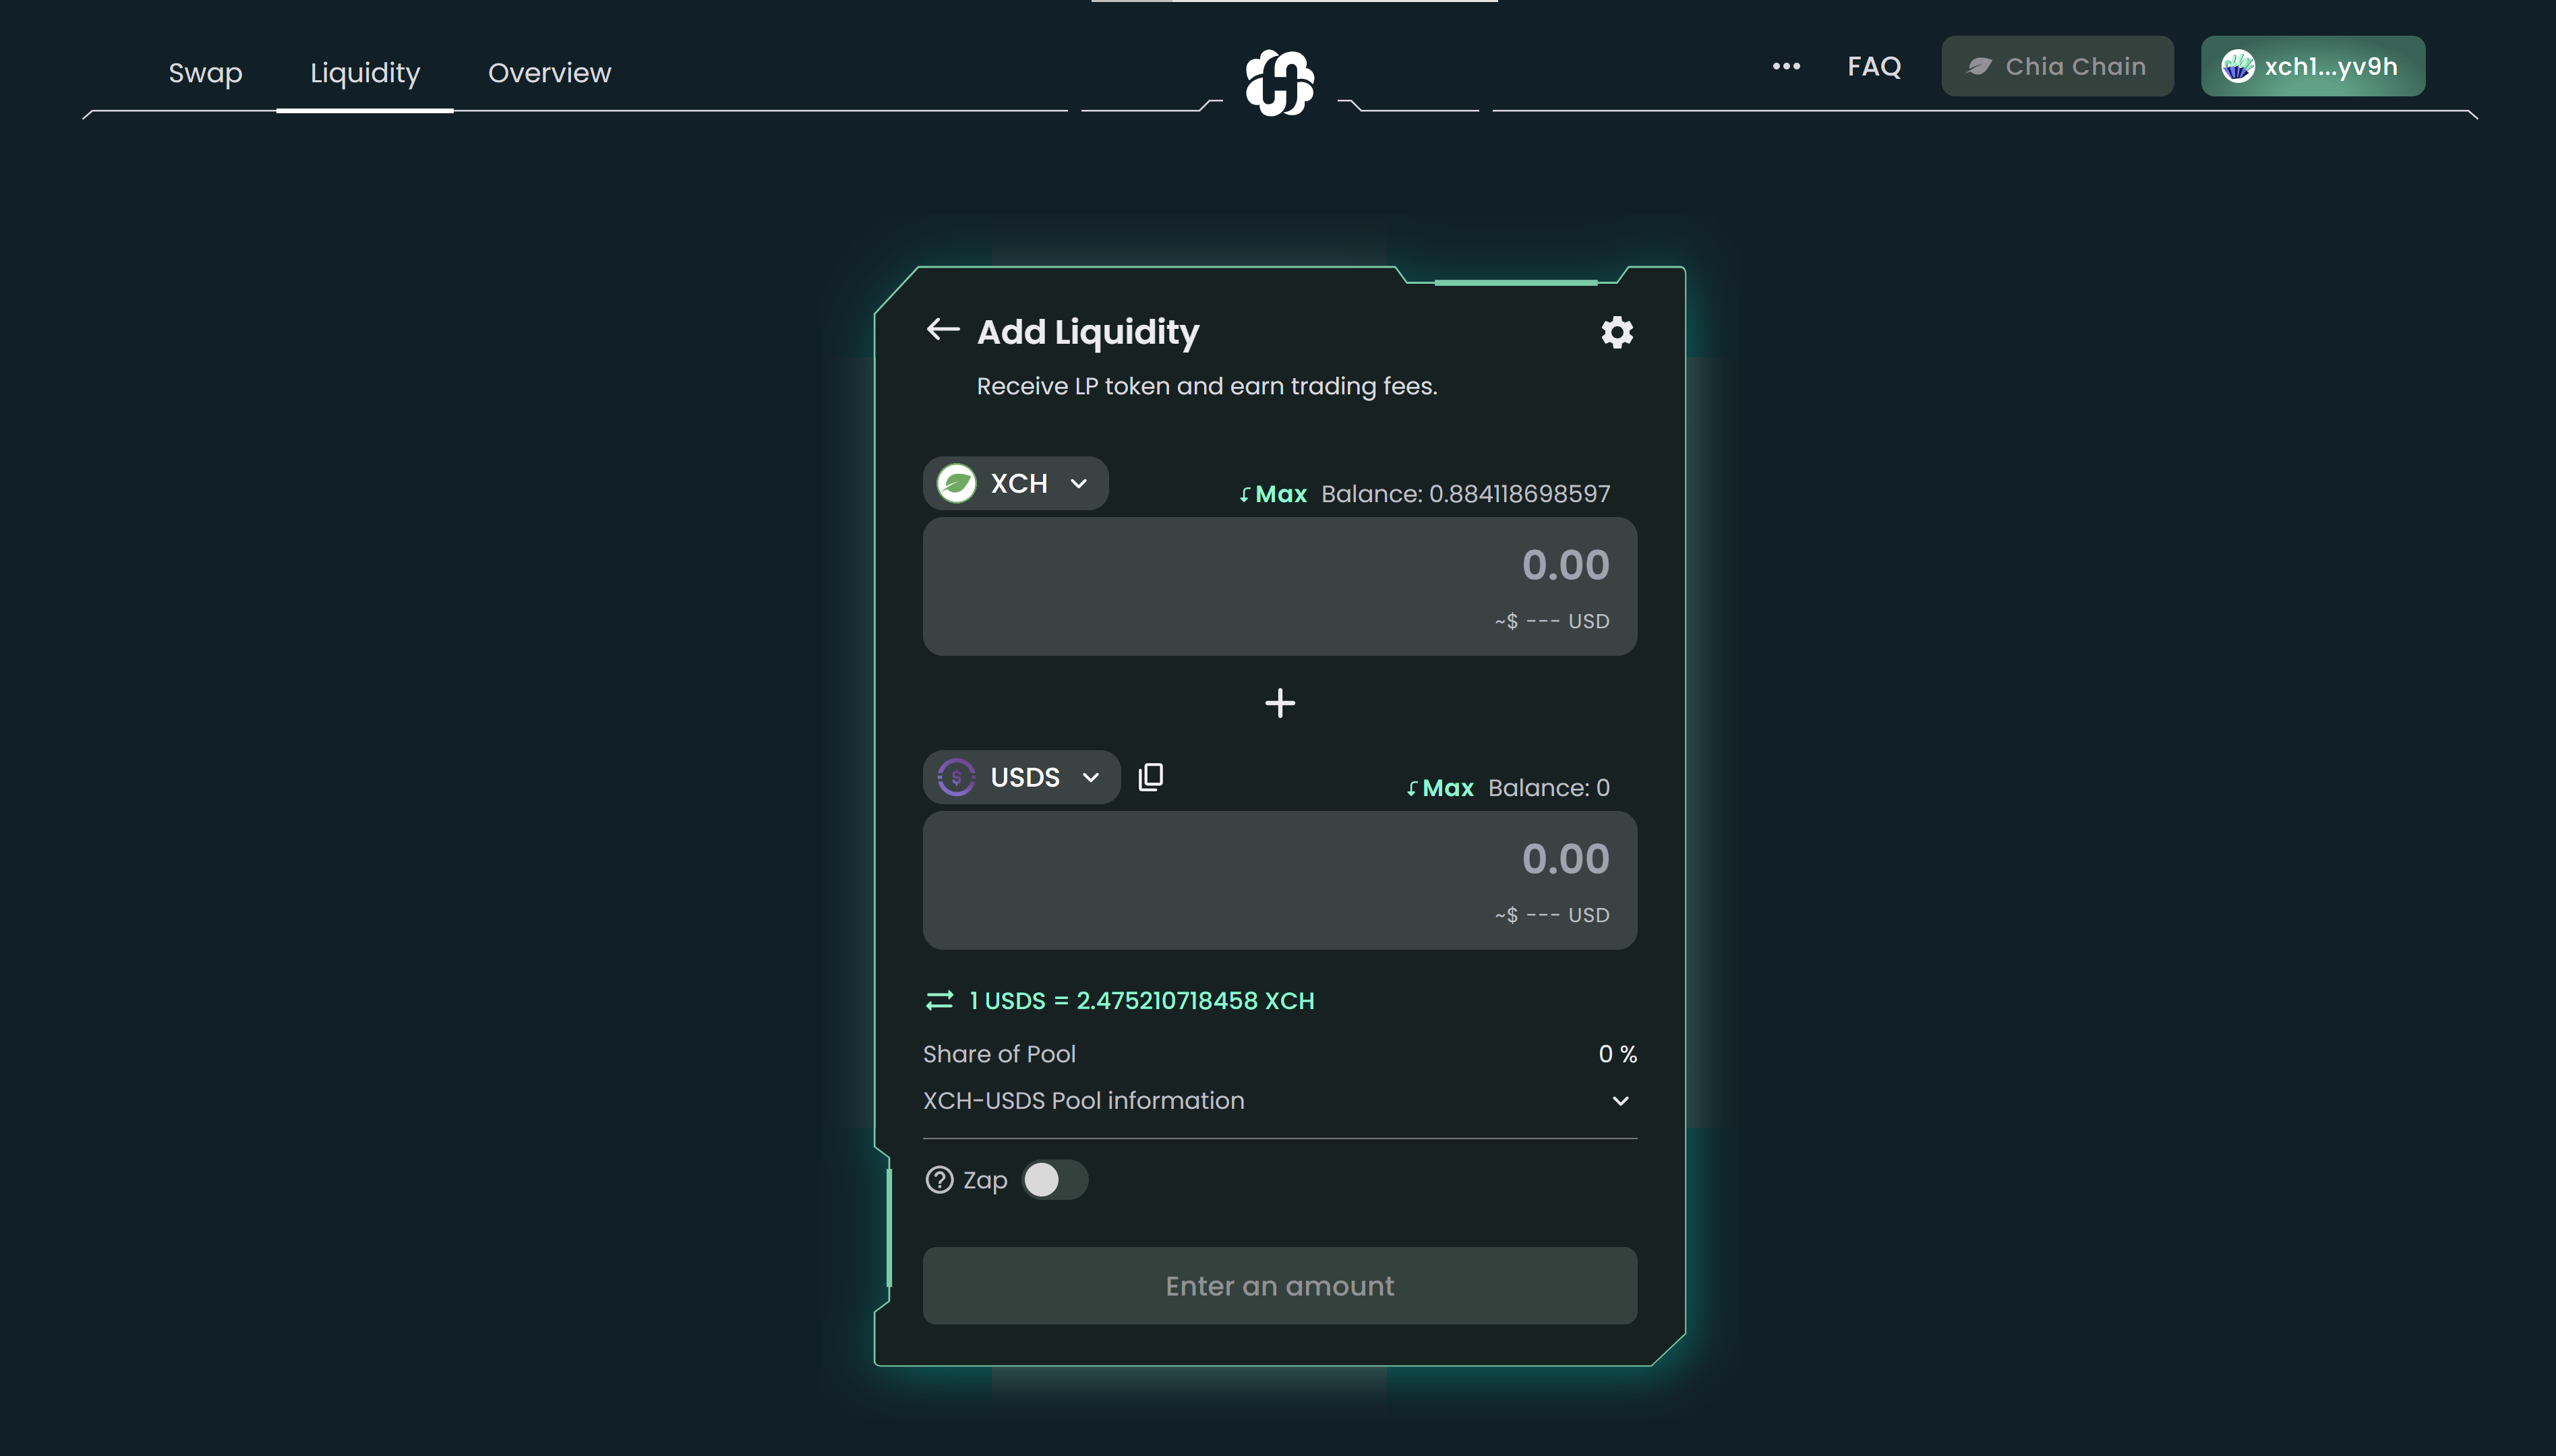
4- Choose which token pairs you want to trade and enter the amount for either one of the tokens; the other one will be calculated based on the current pool ratio. Make sure you have sufficient balance for both of the tokens.
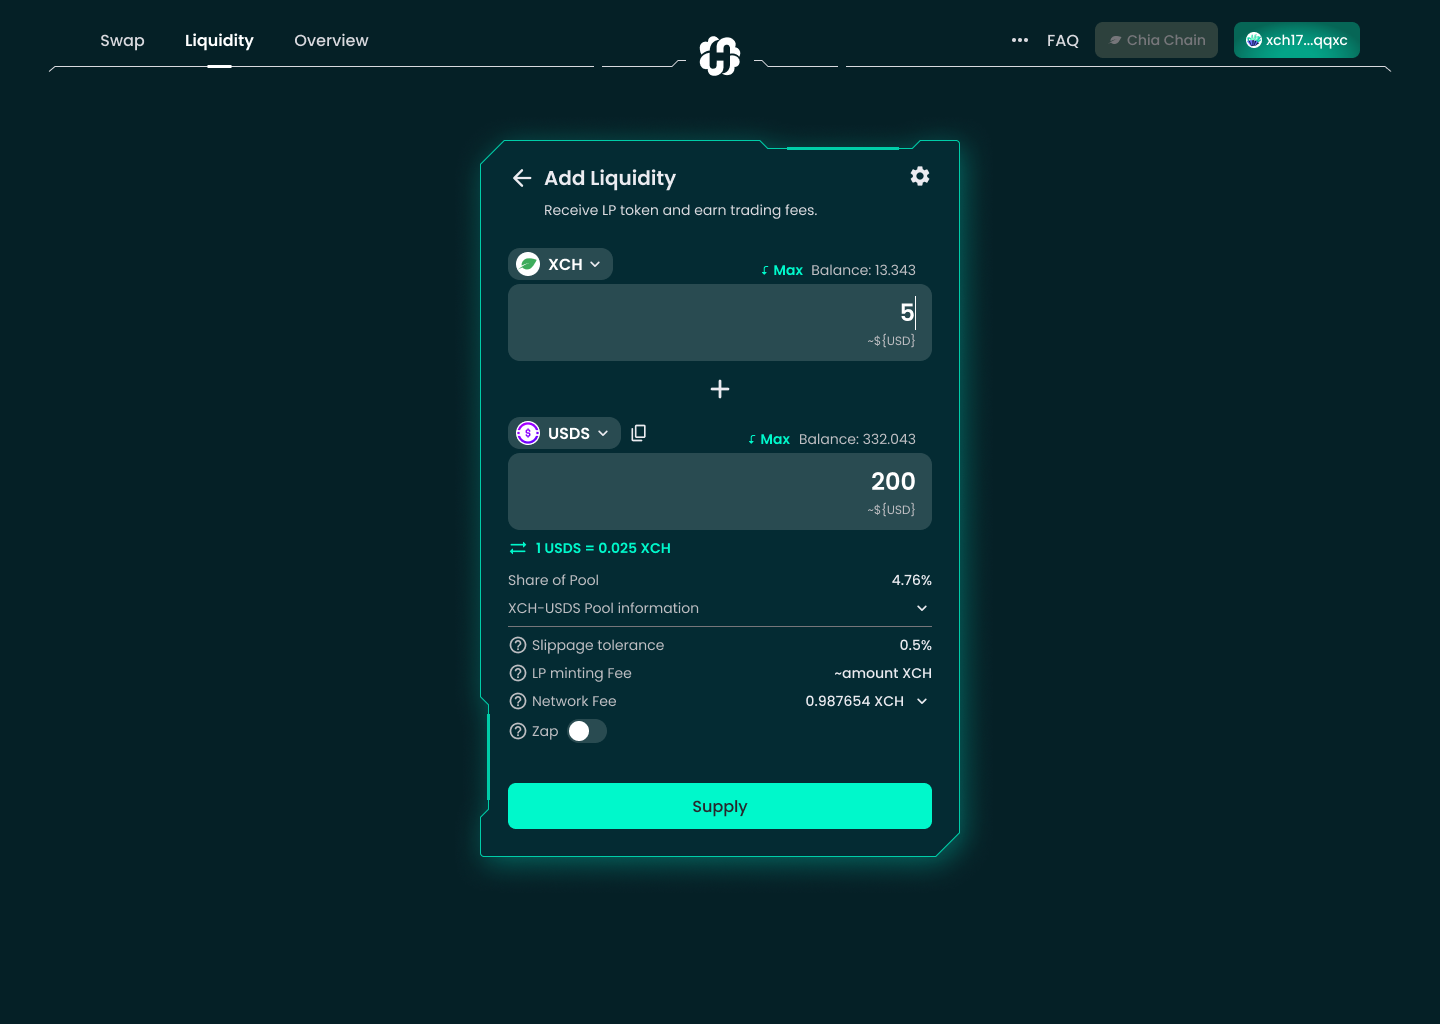
You must add liquidity to the pool in the form of two tokens at a 1:1 ratio according to value. Enter the amount of the first coin you wish to add, the second coin will adjust to match a 1:1 ratio. For example, should you be targeting the token pair XCH-PEPE, if you have 1 XCH and the current XCH-PEPE ratio is 1:400, you would normally have to provide 400 PEPE to stake into the liquidity pool.
5- Click Supply to proceed.
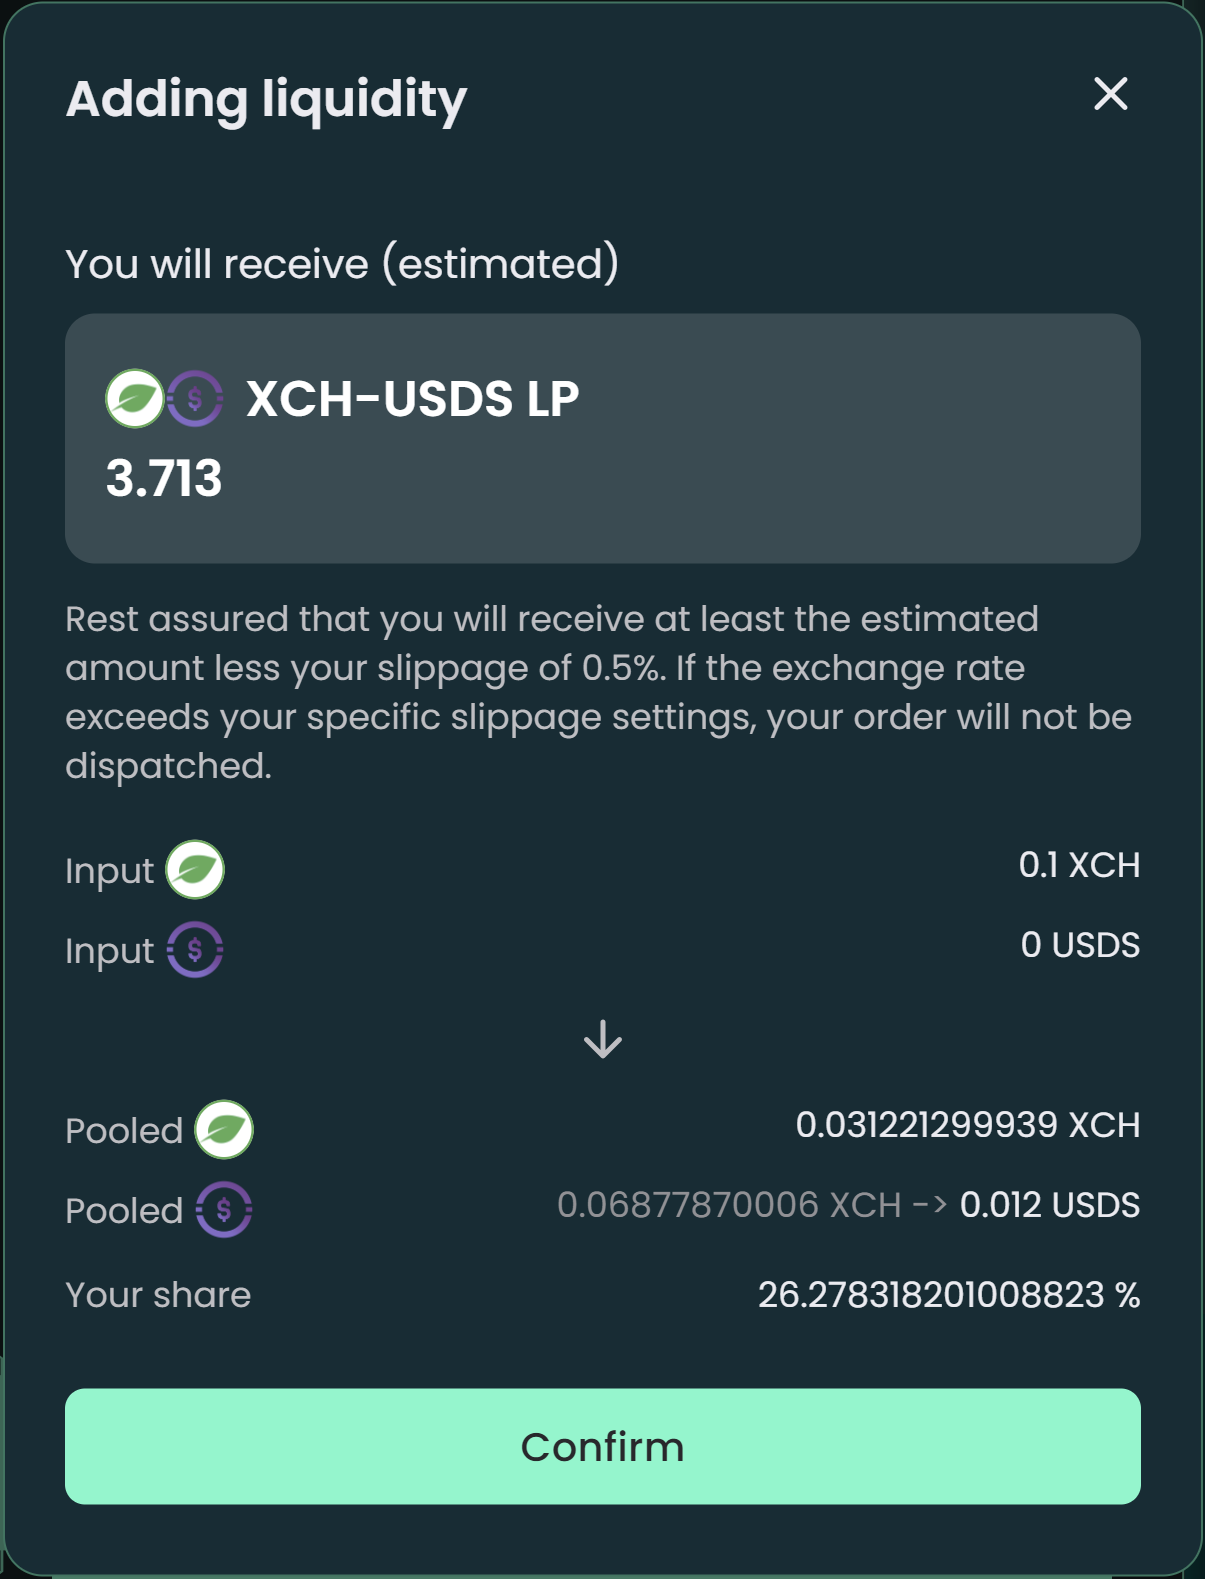
6- A new window will pop up, showing you the estimated amount of the LP tokens you will receive and the holdings of your share in the liquidity pool. Click Confirm to proceed.
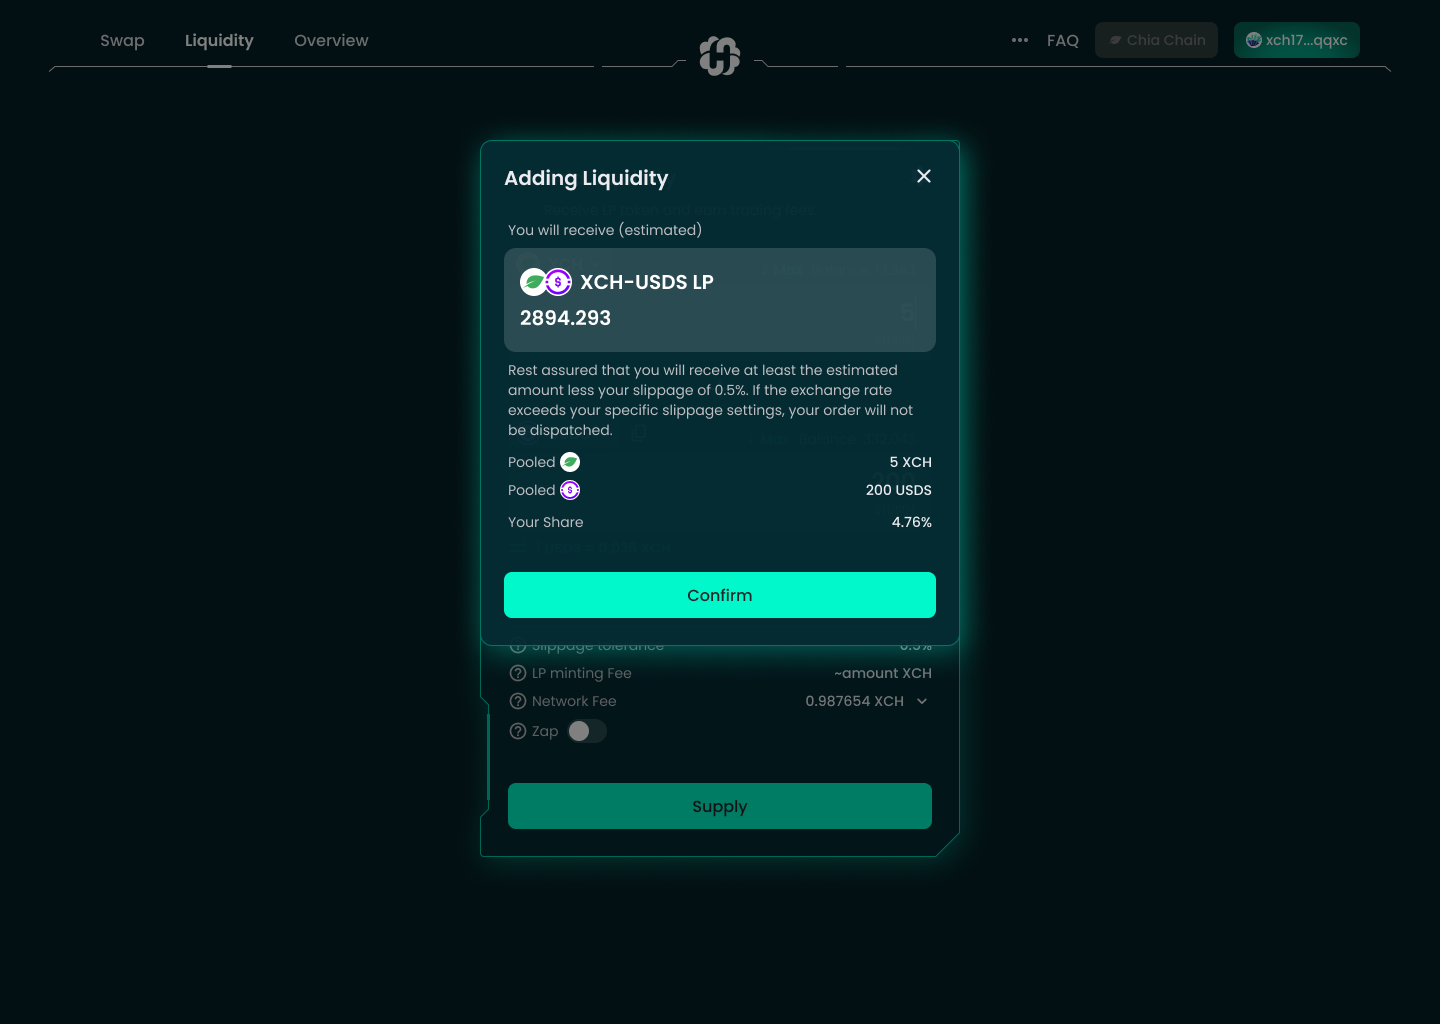
7- Your wallet will pop up and request confirmation. Confirm the transaction in your wallet.
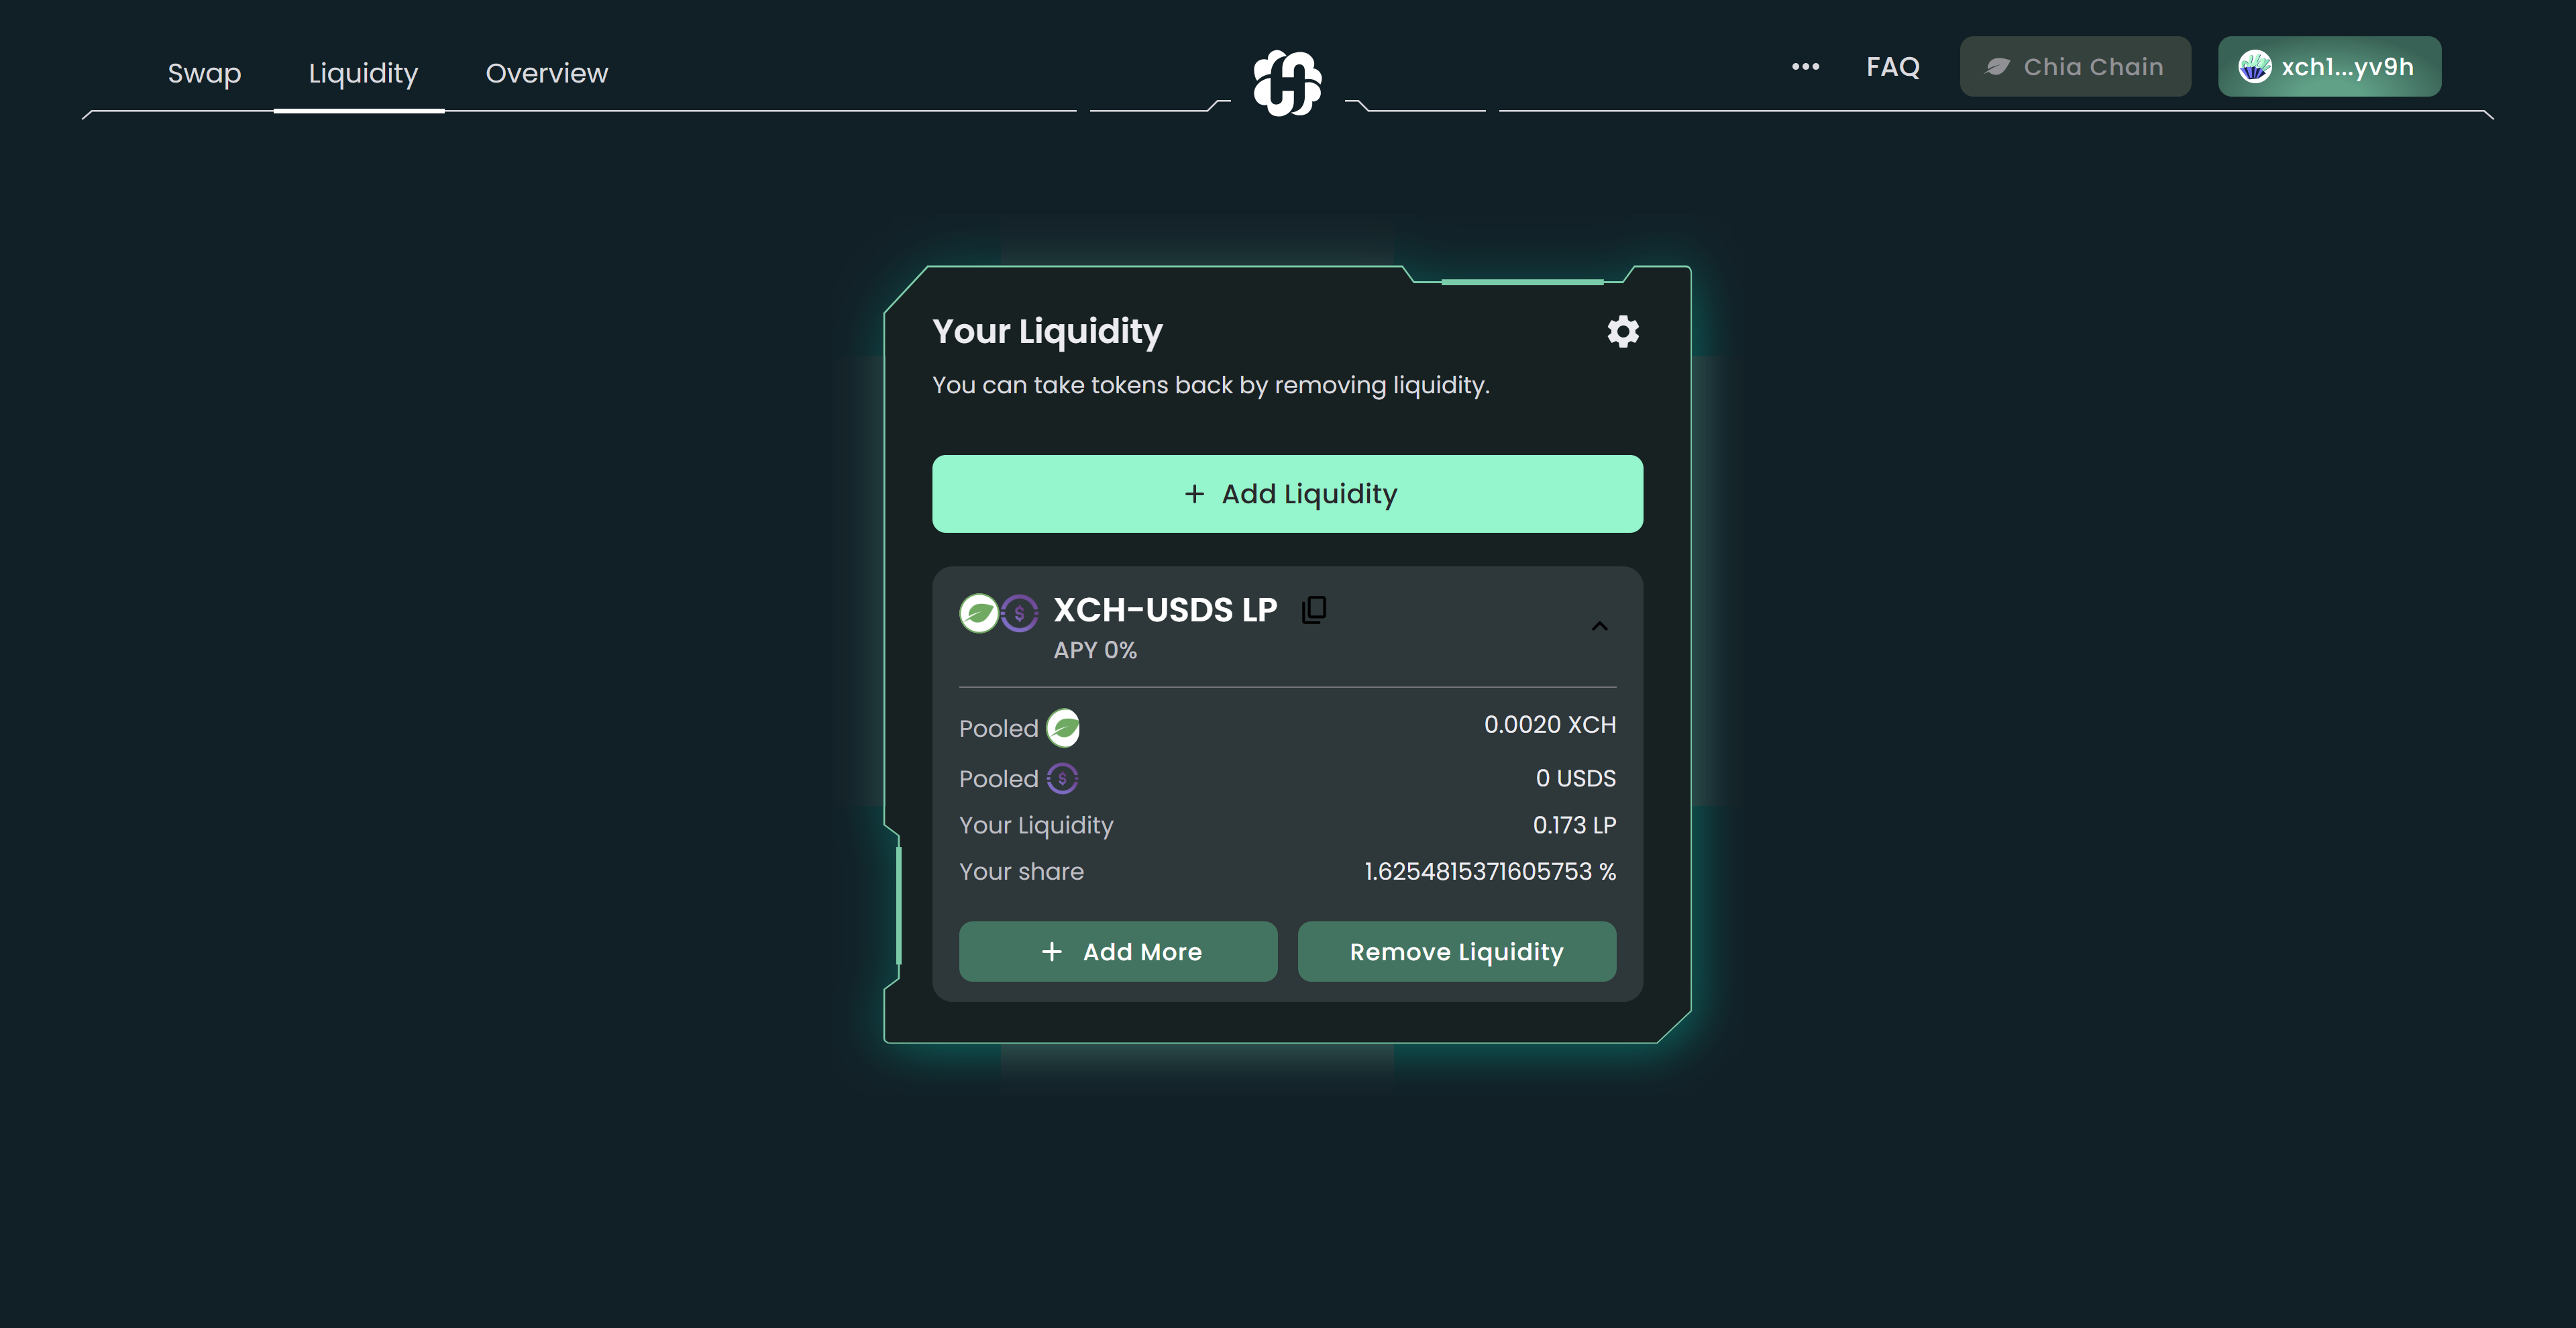
8- Tada! You’ve successfully deposited liquidity to the pool. You can check the transaction information in HashgreenSwap Overview or view it in your wallet.

Zap
Zap is the ability to add unequal funds to the pool, without worrying about only having tokens on one side or having not enough tokens. To learn more about Zap, please click here or here.
1- Visit the Liquidity page and click Add Liquidity.
2- Make sure you have connected your wallet. If not, you can always click Connect Wallet button at the top-right corner or at the bottom of the screen. If you don't know how to connect your wallet, you can check it here.
3- Turn on Zap at the bottom section and select the tokens you wish to trade from the token menu.
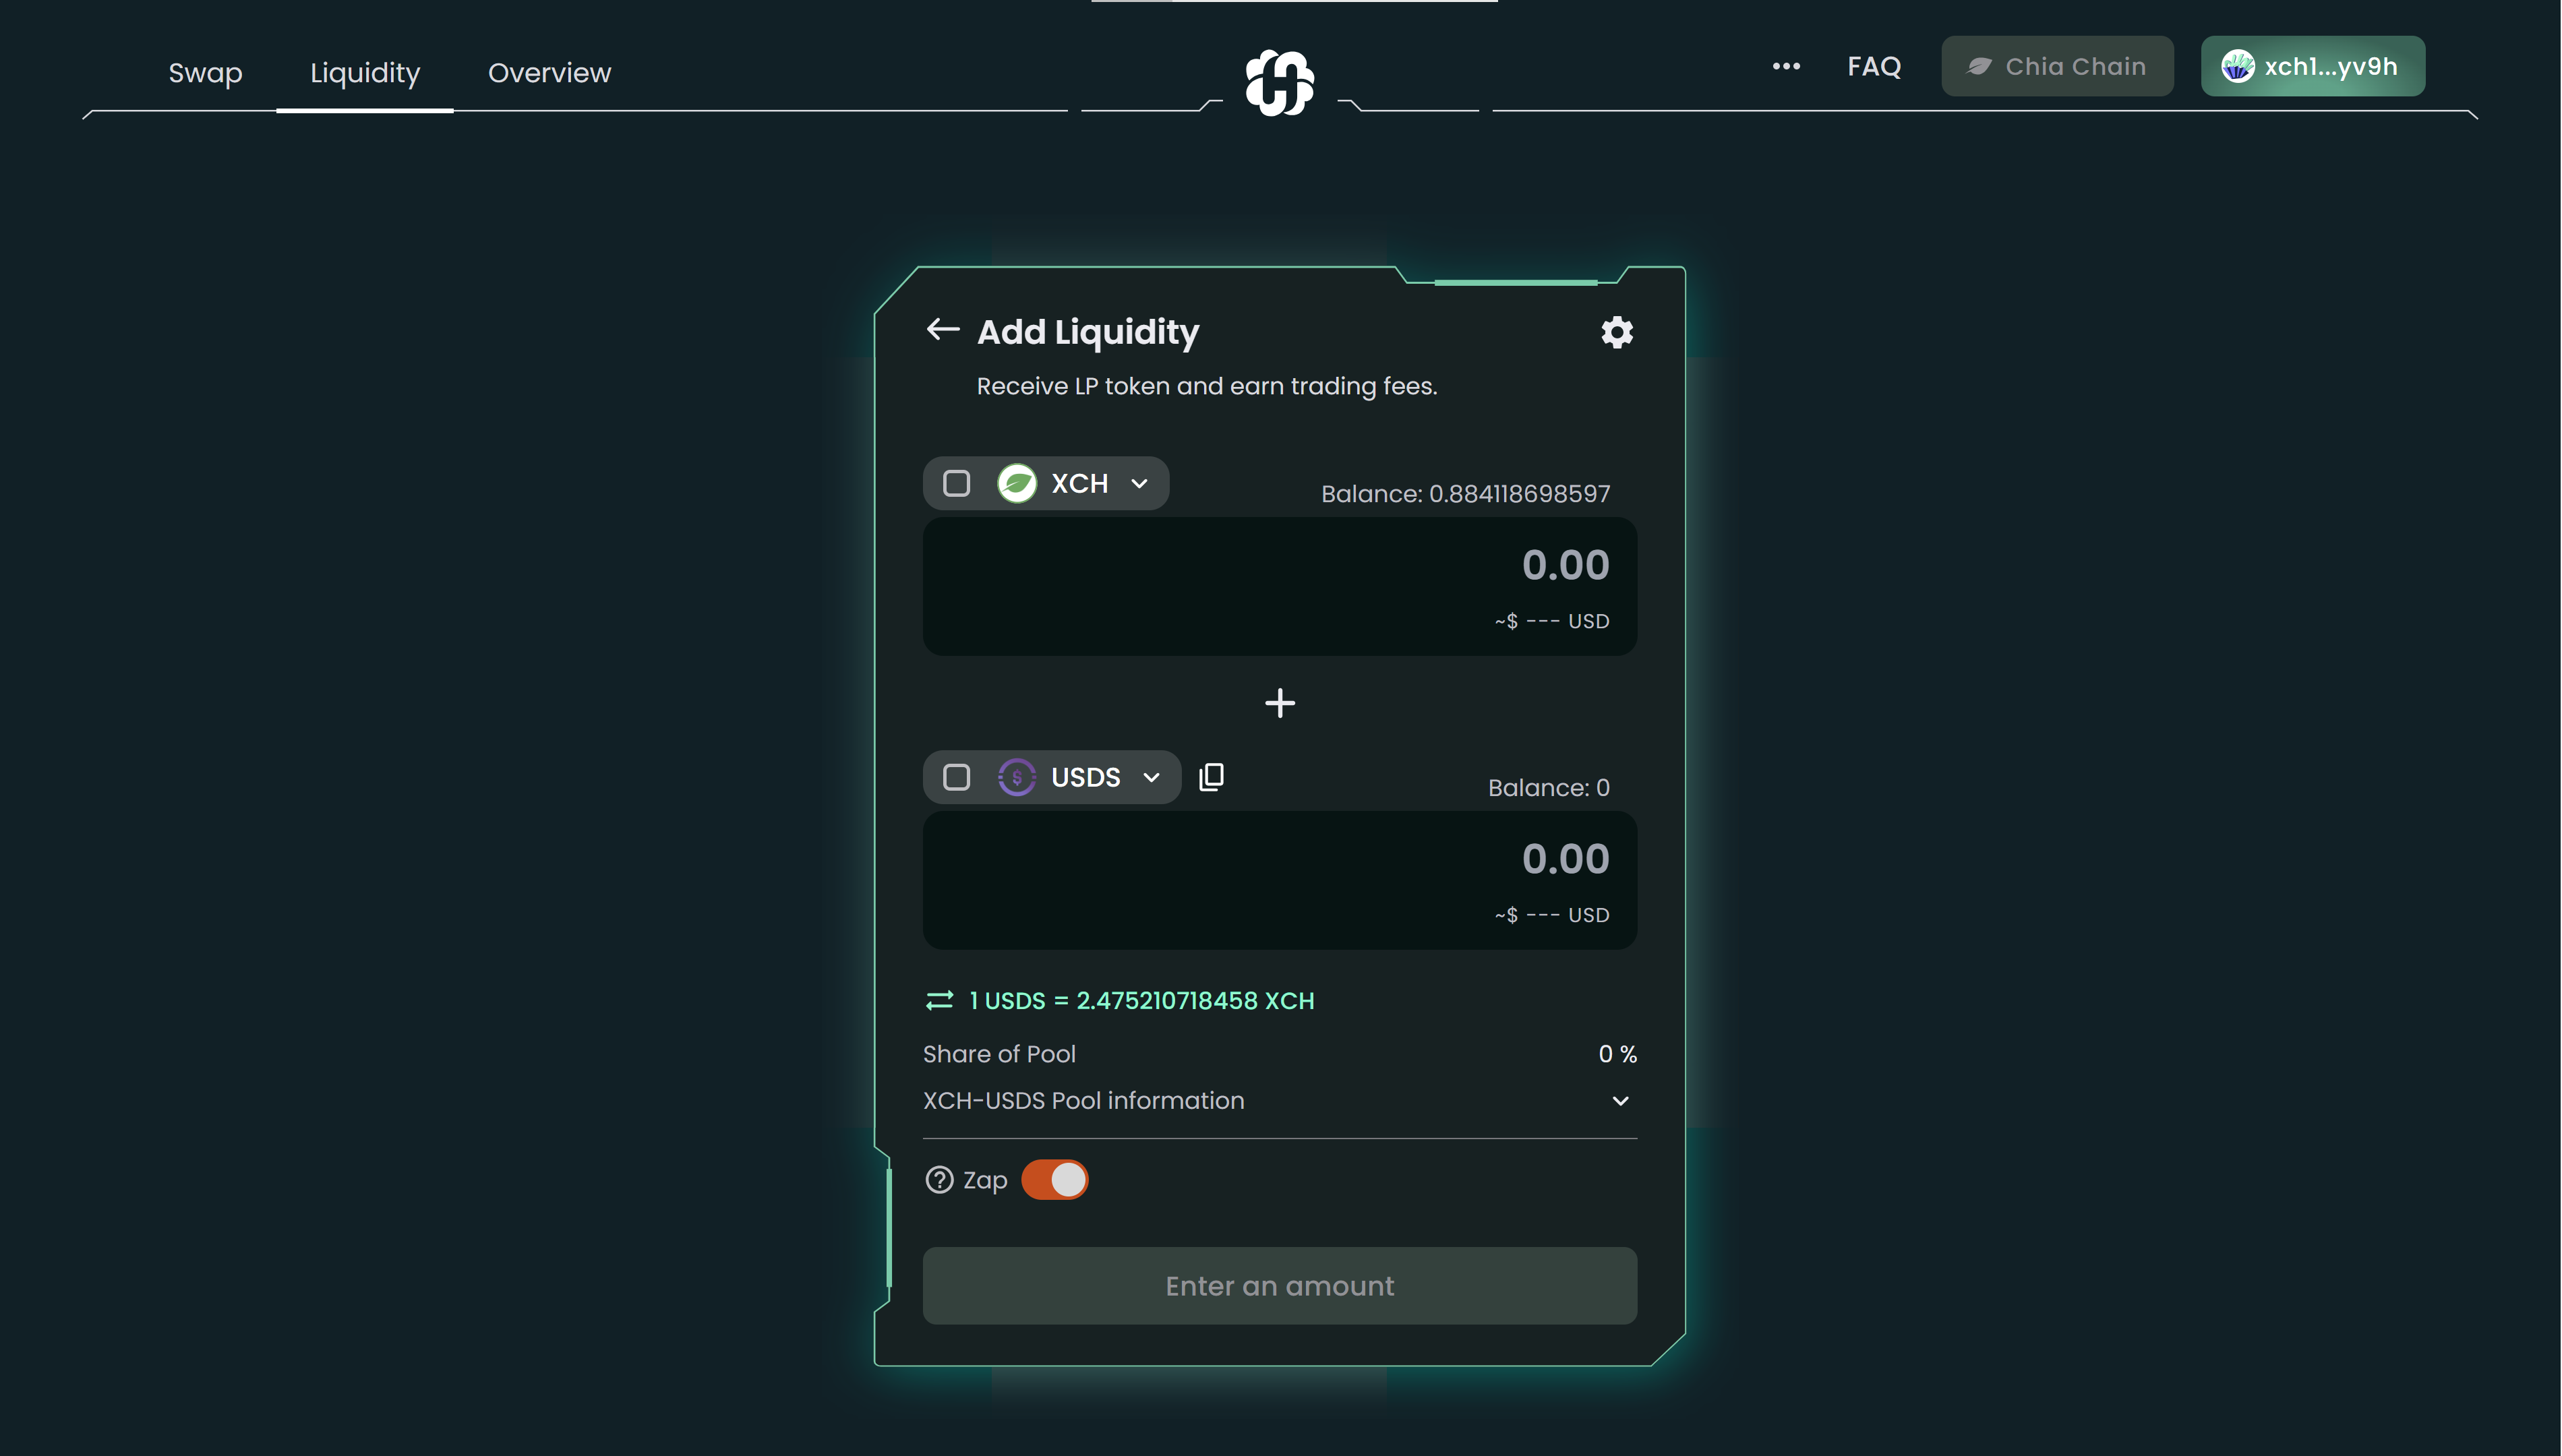
4- Once the zap function is toggled on, you can check the box beside the token you wish to zap in. Enter the amount to proceed. You won't be able to enter an amount if you do not check the token.

Zap is the ability to add unequal funds to the pool, i.e. you can "check" one or two tokens and enter the amount you wish to trade as long as you have sufficient balance.
5- Hit the Supply button to continue.
6- A new window will pop up, showing you the estimated amount of the LP tokens you will receive and the holdings of your share in the liquidity pool. Click Confirm to proceed.
7- Your wallet will pop up and ask for your confirmation for the transaction. Hit Confirm in the wallet.
8- Congratulations! You have successfully zapped in! You can check the transaction information in HashgreenSwap Overview or view it in your wallet.
Remove Liquidity
1- Go to the liquidity page.
2- Click the pool and details will be expanded. Hit the Remove Liquidity button to proceed.
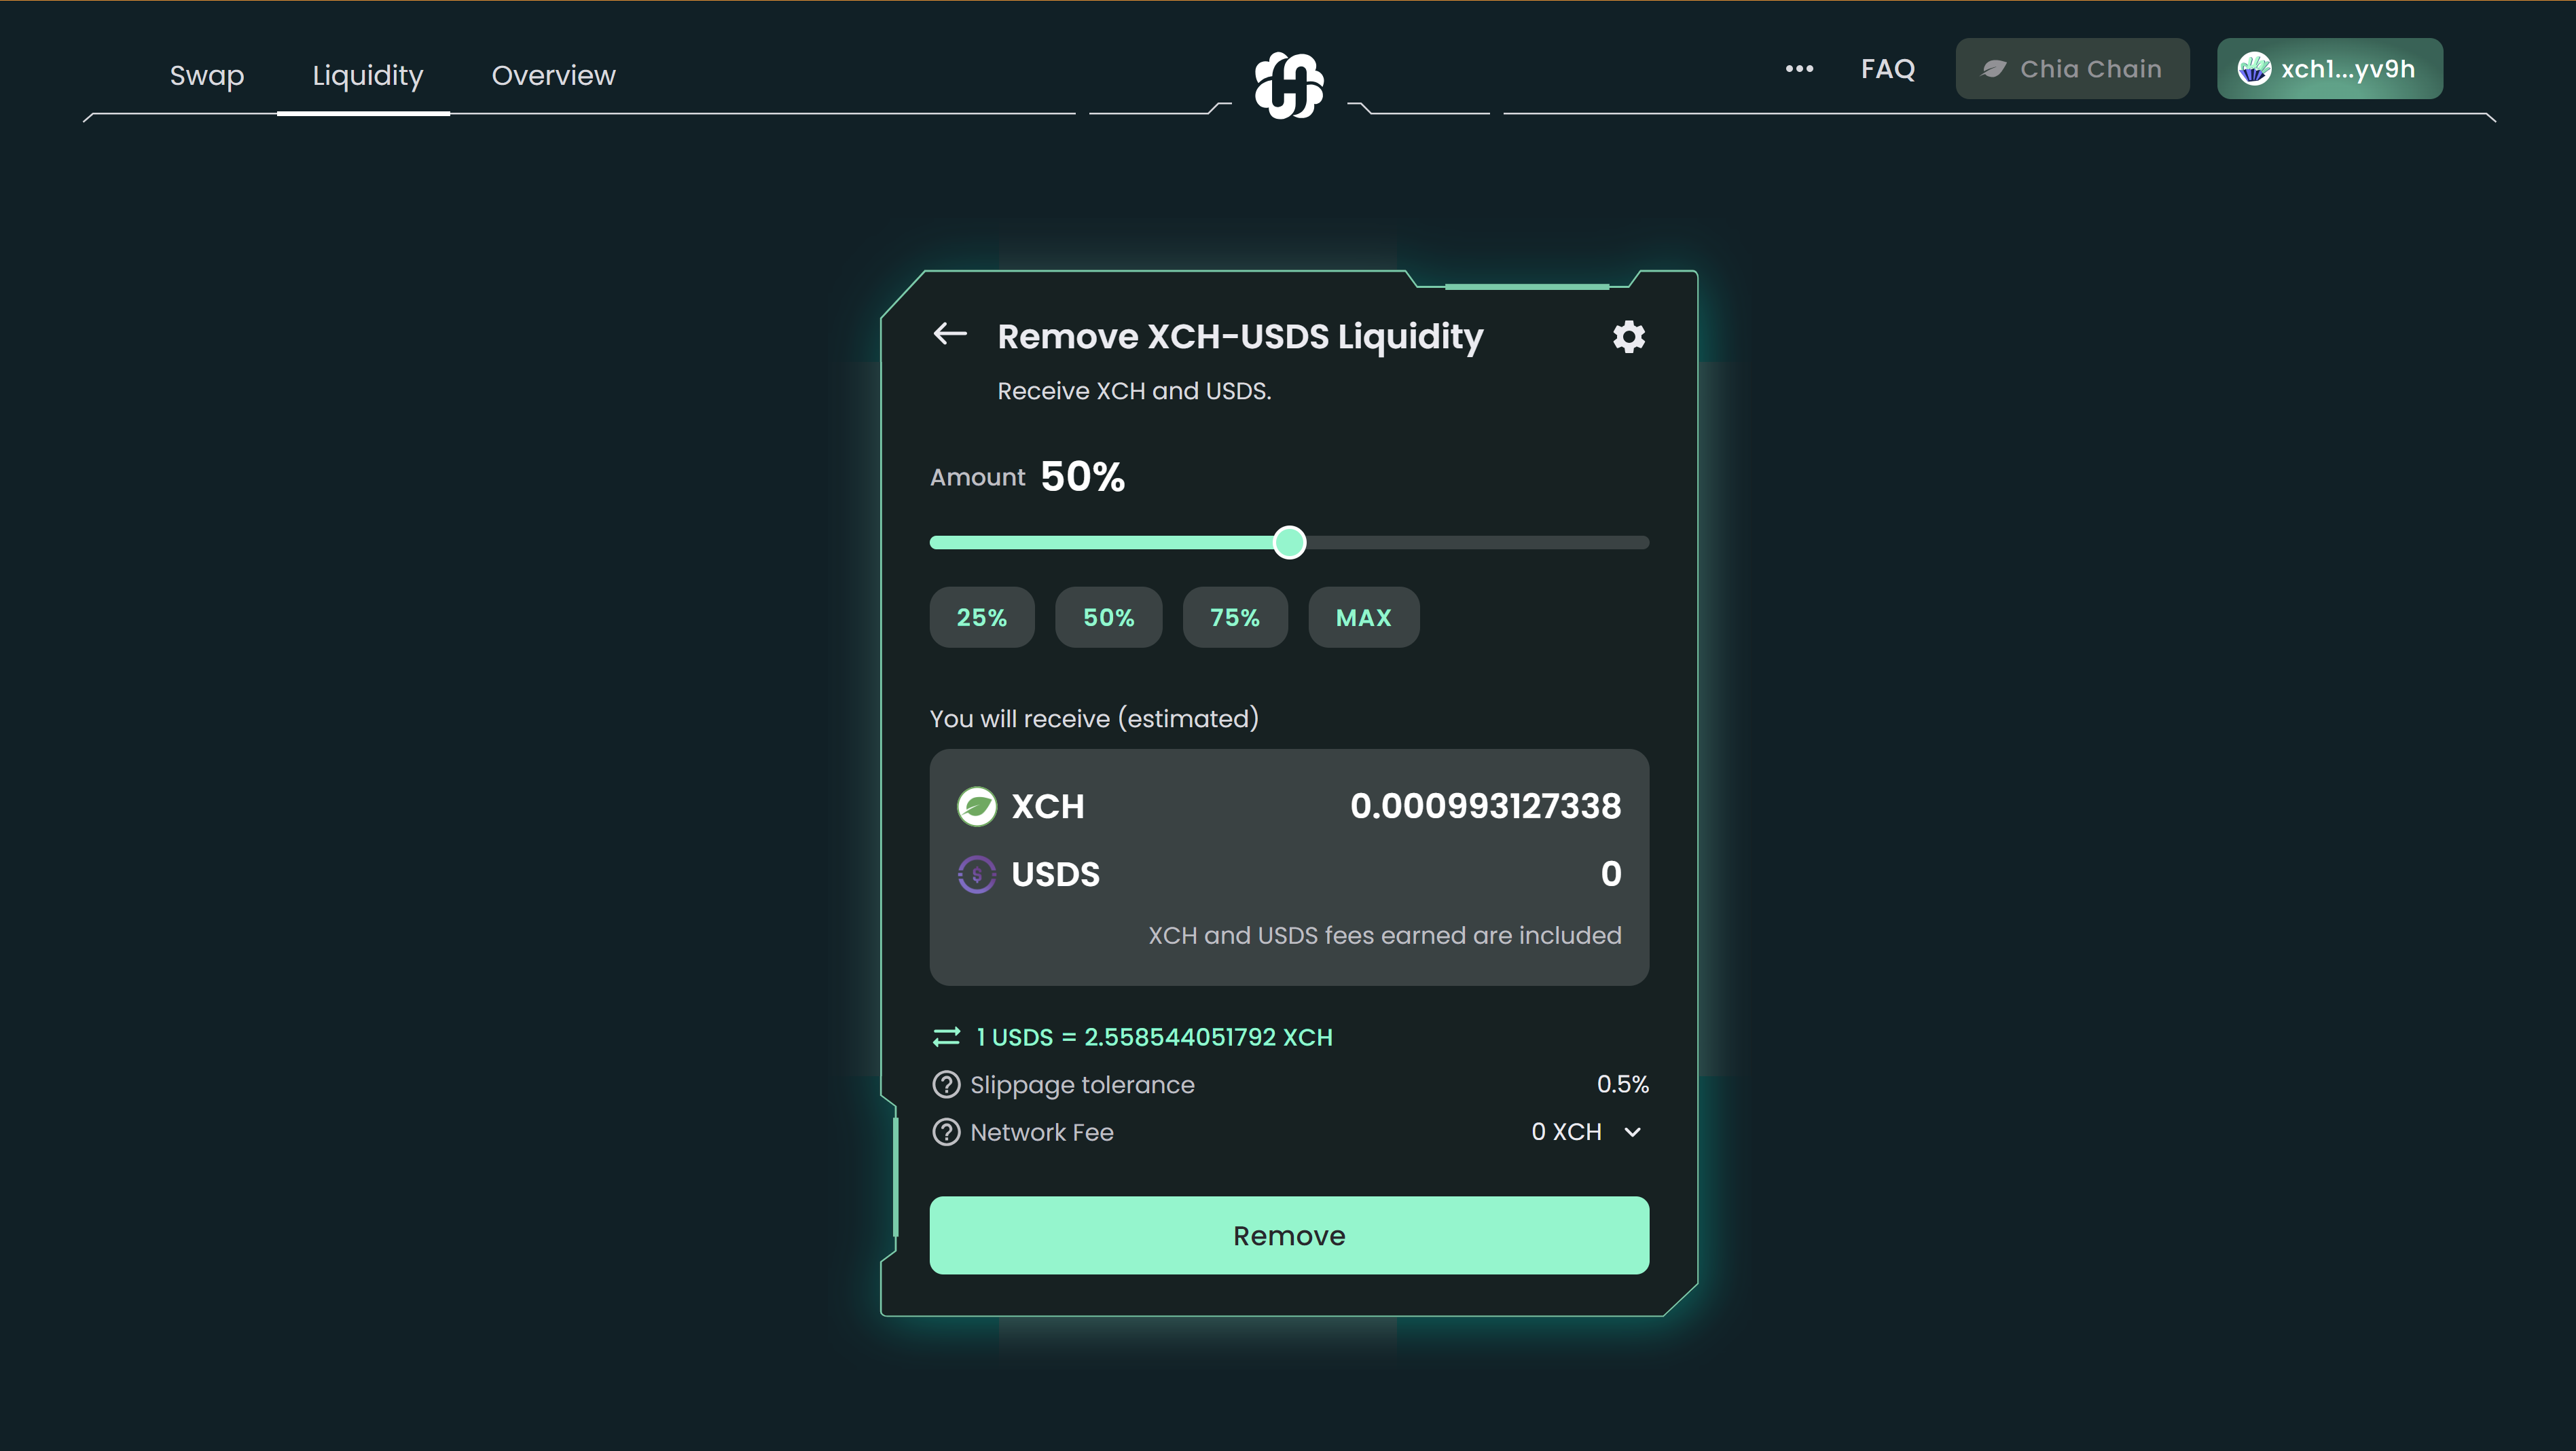
3- Use the buttons or slider to choose how much liquidity you want to remove. Depending on what percentage you choose, you will receive the targeted tokens of the pool. Hit Remove.
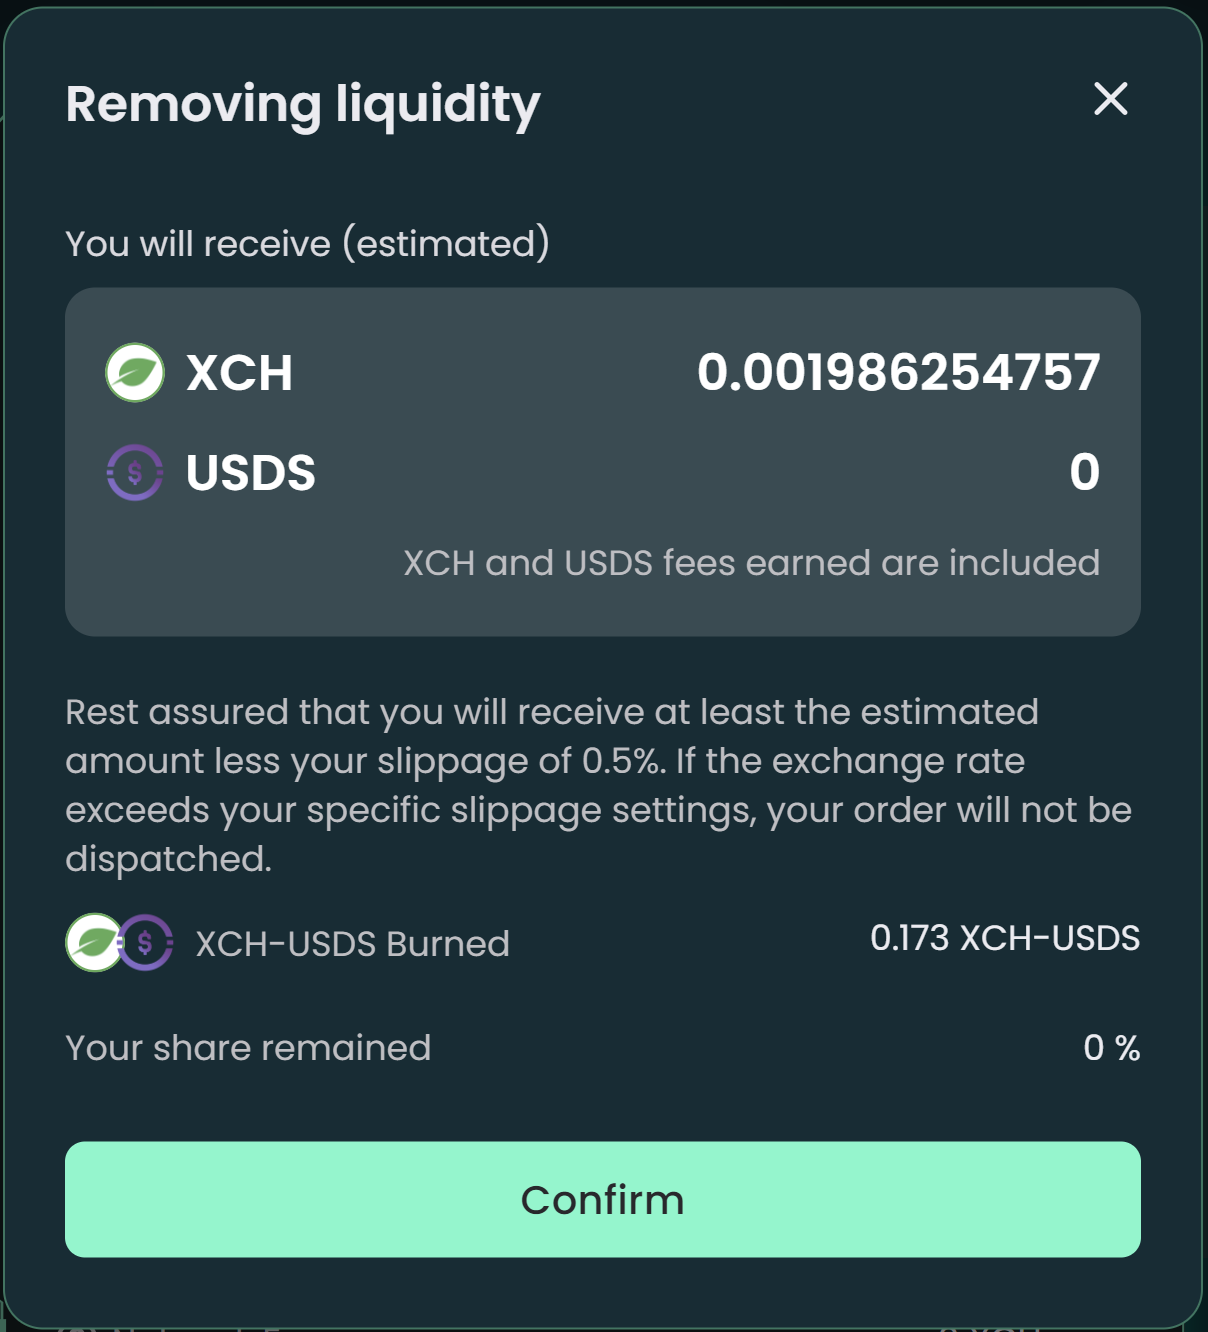
4- A modal will pop up asking you to confirm removing liquidity. Click the Confirm button to proceed.
5- Your wallet will pop up and request for your signature. Click Confirm.
6- Done! You can check the transaction information in HashgreenSwap Overview or view it in your wallet.